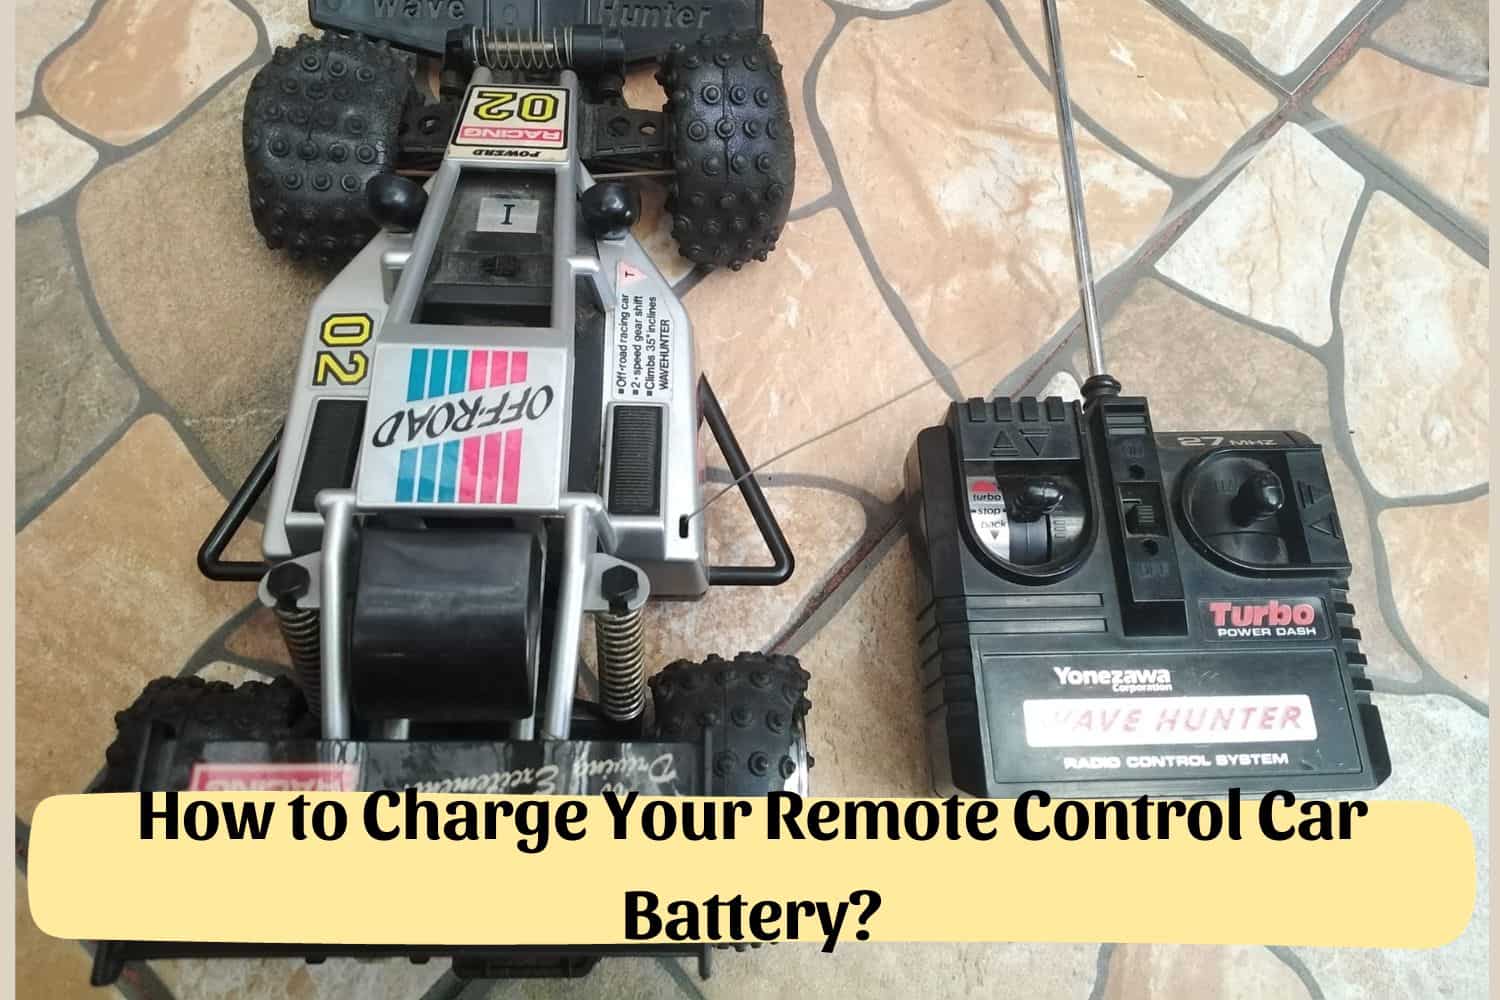
Are you ready to take your remote control car for a spin? Learn how to charge your remote control car battery and get back on track quickly!
How to Charge Your Remote Control Car Battery?
Are you an avid remote control car enthusiast? Or perhaps you are new to the RC world and have recently bought your first kit?
Either way, we all know that tireless hours of fun can be had with these cars – but what do you need to keep them running at their peak performance? If your answer is a battery, then you’re right!
In this blog post, we will provide a detailed guide on how to charge your remote control car battery so that your vehicle will always stay in top condition.
So get ready for some DIY action as we explore the best ways to recharge and maintain healthy lithium-ion batteries for long-term use!
Understanding Your Battery Options for Remote Control Cars
When it comes to remote control cars, it’s important to know about the most common types of batteries used. In this guide, we’ll focus on two popular options.
NiMH batteries
First, let’s talk about NiMH batteries. These batteries are known for their durability, and affordability, and are often included with budget RC cars. They come in different shapes and sizes, but the most common layouts are stick packs.
Most NiMH batteries have a translucent white ‘Tamiya’ plastic female connector, but some may come with a mini-Tamiya or XT60 plugs.
LiPo batteries
Next, we have LiPo batteries. These batteries are considered more powerful and can deliver bursts of high power. They offer superior performance compared to NiMH batteries, but they require careful handling during charging, use, and storage.
LiPo batteries come in various sizes, including hard cases and stacked layers that are vacuum sealed. Additionally, they have different plug types such as XT, T/deans, HXT, EC, and more, which are compatible with thick gauge wiring.
By understanding the differences between NiMH and LiPo batteries, you can make an informed decision when choosing the right battery for your remote-controlled car.
How to Charge Your Remote Control Car Battery?
Learn the ins and outs of advanced RC battery charging with this comprehensive guide. We’ll walk you through each step, using an Overlander charger as an example.
Whether you’re a seasoned pro or just getting started, these concepts can be applied to various battery chargers. However, always reference the manual before plugging in any batteries for safety.
Step 1: Inspect Your Battery
Ensure you have the correct adapter cable for your battery. For LiPo batteries, determine the number of cells by reading the label and checking the wires on the balance plug. (In our example, three wires indicate a 2-cell battery.)
Step 2: Power Up Your Charger
Some advanced chargers do not have power switches and automatically turn on with a power input. The RC-D100, for instance, uses a C5 ‘cloverleaf’ style three-pin power plug. It can also accept a DC input or a battery with an XT60 connector.
Step 3: Connect Your Battery
Using the appropriate lead, plug in your battery and ensure correct polarity (red positive to red positive, etc.). Be cautious with bare connectors like deans, always protecting them with a cap or tape to prevent short circuits.
Multi-cell LiPo batteries come with a JST-XH connector balance plug that needs to be connected to the charger for individual voltage monitoring.
Step 4: Configure Your Charging Mode
Traxxas iD chargers often detect the battery type automatically but may have a mode button for manual selection. For advanced chargers, there are additional options. In our RC-100 configuration example, follow these steps:
Select the channel (battery side) – in this case, A.
Select the program – scroll until it displays LiPo BATT and press enter to confirm.
Choose the charge rate – match the battery’s capacity (1C charging). Use the left and right buttons to set it to 3.0A and press enter.
Set the cell count – for our battery’s 2S configuration, scroll until the readout says 7.4V.
Step 5: Start Charging
Once configured, press and hold the enter/start button for 3 seconds. The charger will check the battery and ask you to confirm the number of cells. If they match your configuration, press Start to begin the charge. You can always cancel to make adjustments.
During the charging process, the charger will display various information such as battery type, current/voltage input, charge mode, elapsed time, and charged capacity. Use the left and right buttons to view cell balance voltages, charged pack percentage, and more.
Completion of the charging process is often indicated by a significant drop in amperage output or with beeping/flash signals from the charger. Don’t forget to power down your charger and disconnect the battery once charging is complete.
Master the art of advanced RC battery charging with this step-by-step guide, ensuring optimal performance and safety for your RC adventures.
Conclusion
To conclude, knowing how to charge your remote control car battery is an important part of being a radio-controlled car enthusiast.
It’s not difficult, but learning the right techniques and having the necessary tools for the job is essential if you want to have a long-lasting remote-controlled car battery that will maintain its performance.
Consider these tips as an effective way to get your battery back to full power, and reinvigorate your vehicle’s ability on the racetrack.
Don’t be afraid to experiment with different charging methods and timing until you find what works best for you – then get out there, hit the tracks, and show off your skills!
Thanks for reading our article. If you want to know more information, visit our website here.
Read more: