Take the stress and frustration out of making puzzles! Check out our step-by-step guide on how to make a puzzle with ease.
How To Make a Puzzle | Guide to Crafting Fun Brainteasers
Do you enjoy the challenge and thrill of solving complex puzzles? Are you looking for a creative outlet to focus your energy? Making puzzles can be a great way to practice problem-solving skills, stimulate creativity, and have fun at the same time!
With so many possibilities from jigsaw puzzles and escape room games to brainteasers and Rubik’s cube challenges, there are endless opportunities to design unique projects both online and offline.
In this blog post, we’ll explore everything you need to know to create your puzzle designs that will provide hours of entertainment for yourself or others. So fasten your seatbelt as we dive into How To Make a Puzzle!
Benefits of Making Your Puzzle
Creating puzzles can be a rewarding and fulfilling experience with multiple benefits, such as:
- Personalization: Making your puzzle allows you to personalize it according to the theme, design, and complexity you desire. You have complete control over every aspect of the puzzle, making it truly one-of-a-kind.
- Cost-effective: Purchasing a high-quality puzzle can be expensive. By making your puzzle, you can save money and invest in higher-quality materials for a more enjoyable experience.
- Creative outlet: Making puzzles is a great way to unleash your creativity and uniquely express yourself. It’s an excellent activity for both children and adults to exercise their imagination and problem-solving skills.
Things to Consider When Making a Puzzle
When it comes to planning out your puzzle, there are a few key factors to keep in mind. First and foremost, determine the desired size of your puzzle. To achieve this, find a rectangular or square piece of cardboard that corresponds to your preferred puzzle size. Keep in mind that the chosen picture must be large enough to cover the entire cardboard surface.
The cardboard selection is a crucial aspect of crafting your homemade puzzle. Ensure that the cardboard is thin enough to be easily cut using scissors or an Exacto knife. Since you will be creating your pieces for the puzzle, it is important to consider this aspect when choosing the appropriate cardboard material.
If you intend to incorporate a unique piece of artwork or a cherished photograph into the puzzle, it may be wise to create a demo version beforehand. This allows for a trial run and the opportunity to learn from any potential mistakes. When working with irreplaceable photos or drawings, exercise caution and refrain from cutting them up unless you are confident in your abilities and have experience with this type of project.
Remember, attention to detail and careful consideration are key when it comes to crafting a puzzle of your own. With these tips in mind, you’ll be well on your way to creating a truly unique and enjoyable experience.
How to Make a Puzzle With Cardboard
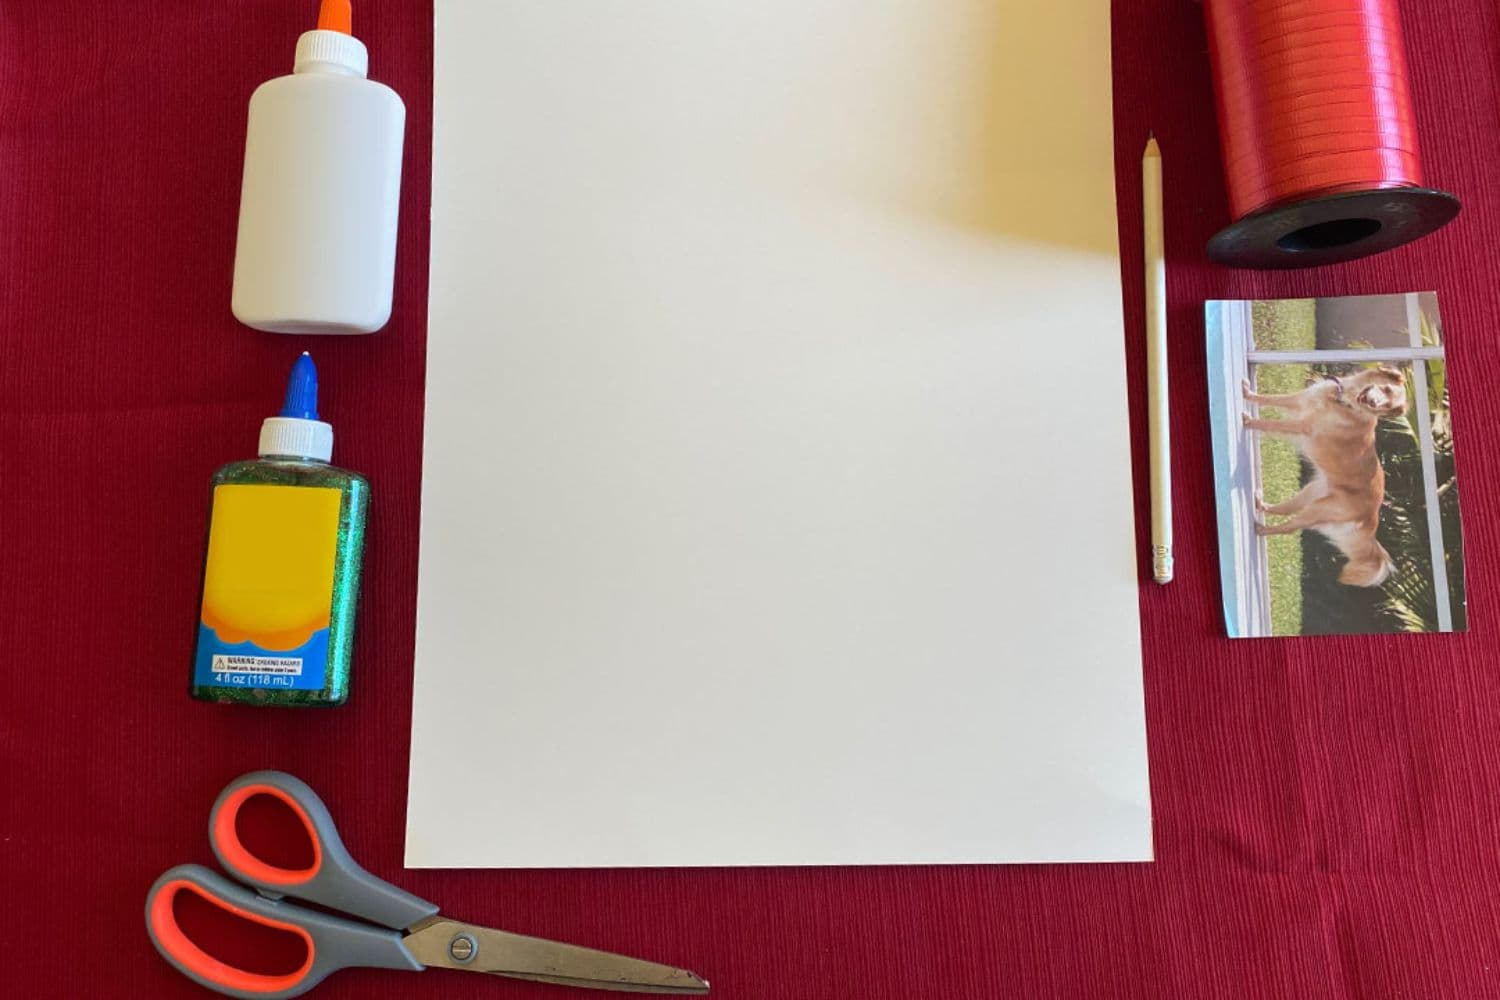
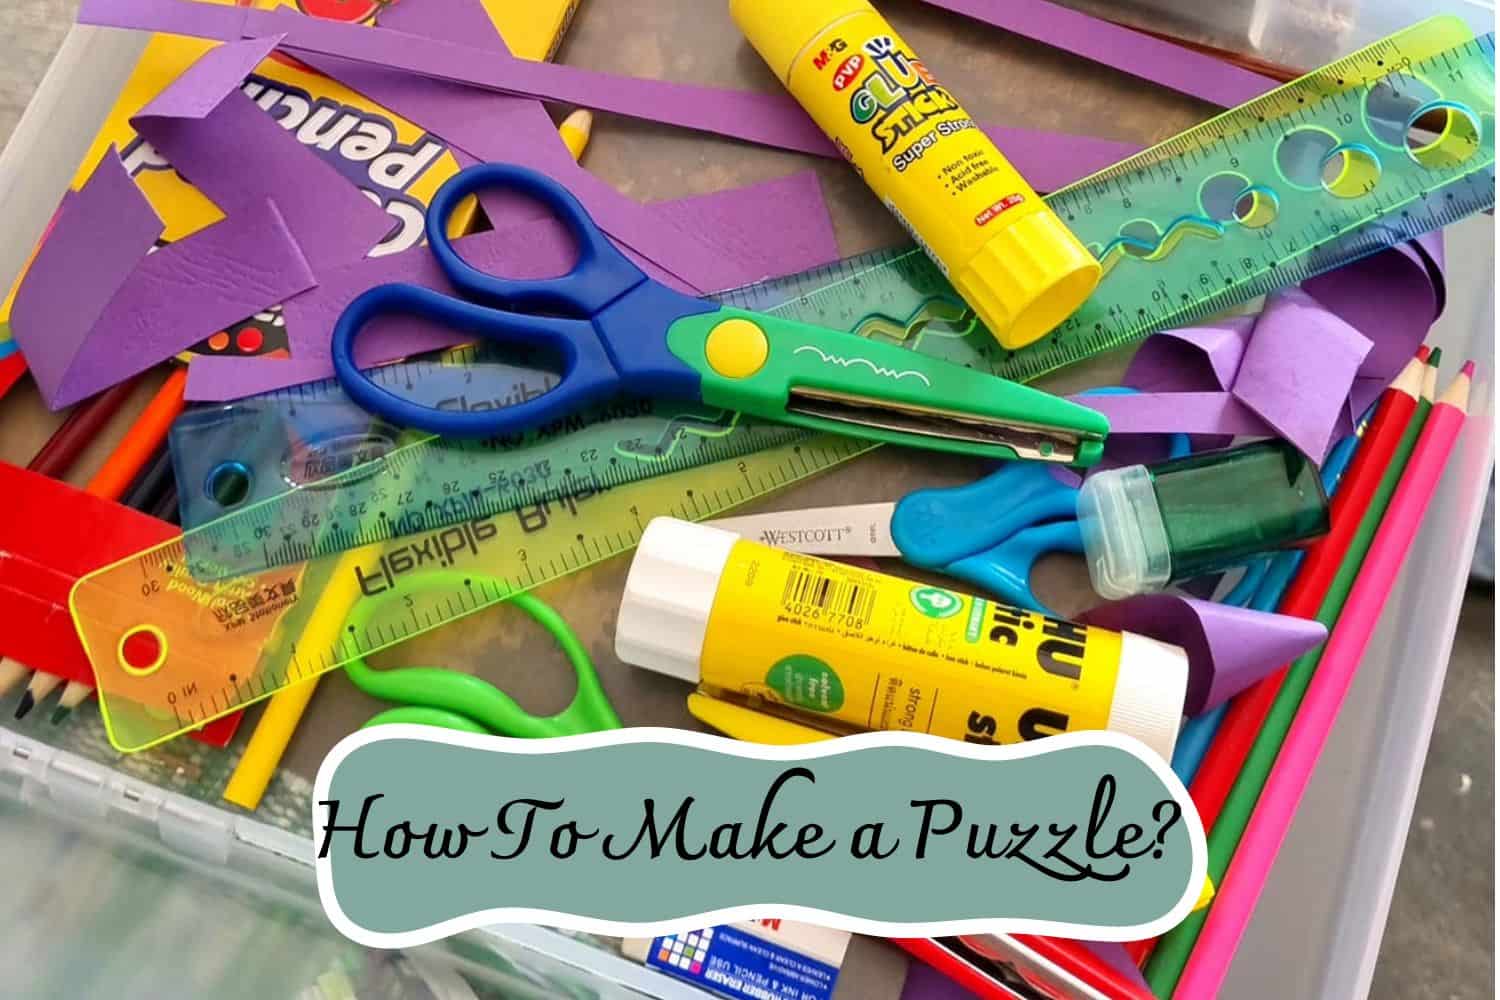
Required Materials:
- Cardboard
- Puzzle Picture
- Scissors
- Glue
- Heavy objects like a box or book
Instructions
Step 1: Selecting the Perfect Image for Your Puzzle
Creating a personalized puzzle begins with choosing the ideal image. You have various options to consider: printing a photograph, drawing or creating your image, or using a card, poster, or printed image.
If you opt for a photograph, make sure to select a high-resolution image and adjust its size to fit your desired puzzle dimensions. You can then either print it yourself or take it to a professional photo lab for development according to your specifications.
Alternatively, if you prefer a hand-drawn puzzle image, select a high-quality paper that matches your desired puzzle size. Then, unleash your creativity and draw or paint your image directly onto the paper using your preferred medium.
For those with computer skills, you have the option to create your puzzle image digitally and print it off similar to a photograph.
Selecting the perfect image is the first step towards crafting a truly unique and enjoyable puzzle experience.
Step 2: Choose the Perfect Puzzle Backing
When selecting a puzzle backing, you have a couple of options. Plywood is a durable and traditional choice, but it requires a saw and some skill to cut.
If you prefer something easier to work with, high-quality cardboard is a great alternative and can be cut with scissors. Craft stores usually have the cardboard you need.
For both cardboard and plywood, it’s best to use a backing that is one-eighth inch thick. This ensures stability and durability.
To minimize waste, try to find a backing that closely matches the size of your puzzle image.
If you’re looking for a more budget-friendly option, consider reusing clean and undamaged cardboard from an old box. However, for a more intricate puzzle, it’s recommended to use thicker cardboard.
Make the right choice for your puzzle and enjoy a smooth and enjoyable puzzle-solving experience.
Step 3: Attaching Your Picture
To protect the surface, place your backing on a sheet of wax or parchment paper. Ensure that the good side of the backing is facing down. Apply a layer of glue on the surface of the backing, making sure it is evenly spread.
Carefully position your picture onto the backing, using your fingers to adjust it until it is centered and straight. Then, apply even pressure to the picture using a roller or an old credit card to secure it and remove any bubbles.
Double-check for any air bubbles and ensure that the picture is securely glued. Wipe away any excess glue on the edges.
Allow the glue to dry. Although drying times may vary, it is advisable to give your puzzle several hours to fully set if possible.
Step 4: Allow Proper Drying Time
To achieve optimal results for your puzzle, follow these simple steps. Gather a box, a heavy book, or any other substantial object and position it on top of your puzzle.
This weight will help the puzzle dry evenly and ensure a strong bond with the cardboard surface. For adequate drying, leave the weight on your puzzle for a minimum of two hours.
Step 5: Final Touches for a Polished Look
Once your picture is completely dry, it’s time to give it some finishing touches. Begin by removing the weight and carefully inspect your work. If you notice any rough or uneven edges or the cardboard or picture sticking out, trim those pieces away.
Next, check that the glue has securely adhered. If you spot any areas needing extra bonding, now is the perfect opportunity to apply more glue. For added assurance, consider using a lacquer or sealant like Mod Podge.
I recommend using Mod Podge gloss as it serves as both a reliable adhesive and sealant. It not only enhances the bonding between the paper and cardboard, but it also adds a sleek glossy finish. Just remember, avoid applying any sealant to photos or photo paper.
Perfect your project with these essential touch-ups for a professional and refined result.
Step 6: Place it on parchment or wax paper
Enhance your puzzle – take it outdoors or to a well-ventilated space. Put it back on the parchment or wax paper, and apply a smooth layer of lacquer over the image. Don’t forget to check the drying time mentioned on the can and allow it to dry properly.
Step 7: Trim Your Puzzle Border
When your puzzle image is smaller than the backing, it’s important to trim the edges of the backing to match the size of the puzzle. Here’s how you can do it depending on the material of your puzzle.
If you have a cardboard puzzle, you can use scissors or a cutting mat with a hobby knife. Place the puzzle face up on the cutting mat and carefully trim the edges with the hobby knife or use scissors to achieve the desired size.
For a wood puzzle, a saw will be the tool of choice. Take a hand saw and position the puzzle on a flat surface, such as a table, with the side you want to cut extending beyond the edge. Hold the puzzle firmly with one hand to keep it in place and use your other hand to guide the saw and make the cut.
By following these steps, you can ensure that the backing of your puzzle is the perfect shape and size for the puzzle image.
Step 8: Create an Eye-Catching Puzzle Grid
Transform your puzzle into a captivating masterpiece with this simple technique. Start by flipping your puzzle over, and placing it upside down. Grab a ruler to ensure precision as you mark out and draw a grid pattern composed of perfectly proportioned squares.
For puzzles with more, smaller pieces, use squares that measure three-quarters of an inch. For puzzles with fewer, larger pieces, opt for squares that are one inch.
If drawing your template feels too laborious, fear not! You can easily access printable templates from websites such as Tim’s Printables.
Step 9: Design Your Puzzle Template
Create unique puzzle pieces by adding ball and socket shapes (concave and convex half-circles) along the edges of each grid square.
These shapes will ensure that the pieces fit perfectly together when the puzzle is cut. For added variety, you can also incorporate inverted and protruding triangles, squares, or other shapes.
If you have pre-drawn puzzle templates that you have printed out, simply glue them onto the back of the puzzle and let it dry. This step helps to secure the template in place for a smooth and accurate puzzle-making process.
Step 10: How to Cut Puzzle Pieces with Precision
To cut your puzzle pieces, all you need is a pair of sharp scissors. For better control, it’s recommended to have small scissors instead of larger ones, which can make cutting intricate designs more challenging.
If you’re working with a cardboard puzzle, follow the template you’ve drawn on the back and carefully cut out the pieces using scissors. Alternatively, if you prefer using a utility knife, place the puzzle face down on a cutting mat and cautiously cut the pieces. If you’re using a saw, exercise caution to prevent any accidents.
After you’ve completed cutting, use an eraser to eliminate any remaining pencil marks for a clean finish.
For a more efficient process, consider cutting entire rows or columns at a time before cutting out the individual pieces later. This can speed up the cutting process.
Lastly, if you’re using a saw, applying a layer of lacquer to the puzzle image will help safeguard it from potential damage during the cutting process. This is particularly important when working with a saw.
With these tips, you’ll be able to create your puzzle pieces with precision and care.
How To Build a Puzzle With a Cricut Maker
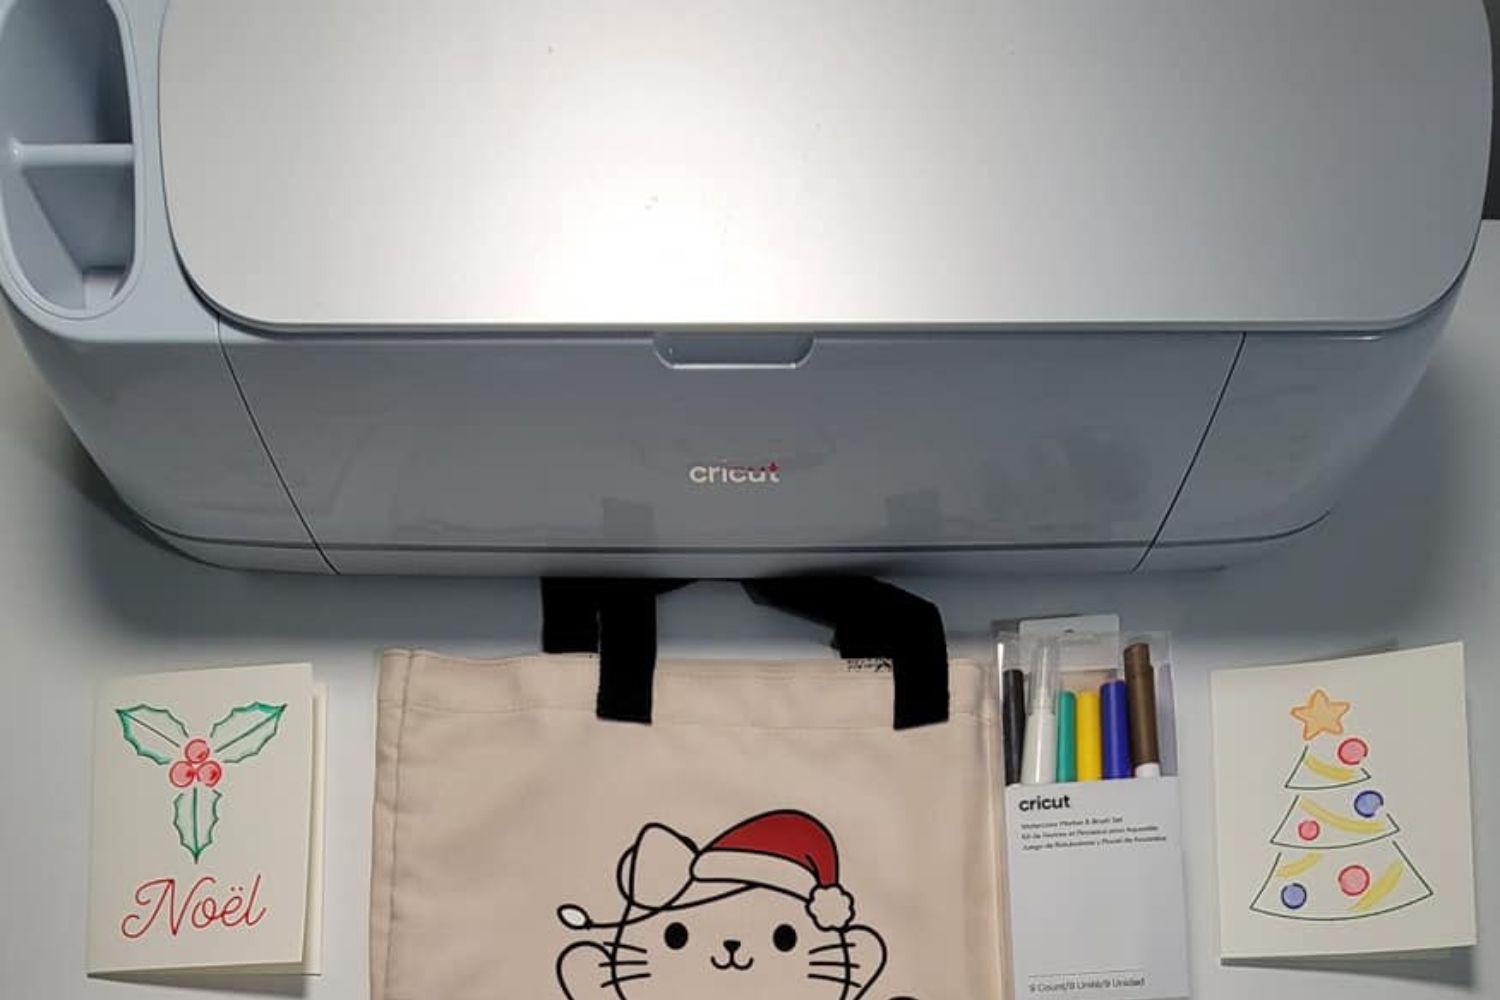
Essential Supplies:
- Cricut Maker
- Knife Blade
- High-quality Cardstock
- Heavy Duty Chipboard specifically for Cricut
- Light Grip Mat for delicate materials
- Strong Grip Mat for tough materials
- ATG Gun for precise adhesive application
- Masking Tape for clean and accurate projects
Achieve Clean and Precise Cuts with the Knife Blade
Step 1: Ensure stability by securely taping the Cricut Heavy Chipboard onto the mat. This prevents any shifting during the cutting process, especially when working with heavier materials.
Step 2: Switch to the Knife Blade and conveniently position all white stars on the right side. This prevents any unwanted marks on your project as it moves through.
Step 3: Begin by cutting a square shape on your first mat. This will serve as the chipboard base for your project.
Step 4: Easily remove the masking tape, which plays a crucial role in keeping your project secure during cutting.
Step 5: Now, using the Cricut Heavy Duty Chipboard and the Knife Blade, cut out the puzzle. This may take approximately 30-45 minutes and involve 20 cuts. Rest assured, the wait is worth it for the exceptional quality. Remember to connect your Cricut to your computer via USB and adjust your computer settings to prevent it from going to sleep during the cutting process.
Cutting out the cardstock
Step 6: Use the fine point blade to carefully cut your desired cardstock on the Light Grip Mat.
Step 7: Assemble your puzzle pieces by applying an easily removable dry adhesive for convenience.
Step 8: Attach the border to the bottom of the puzzle for added stability.
Tips for Working with the Cricut Knife Blade
- Avoid material damage – Slide stars aside to prevent indentations.
- Ensure precision – Calibrate your knife blade before use.
- Secure materials – Tape edges to keep them in place on the cutting mat.
- Maintenance matters – Clean the mat after each use, removing debris with tweezers.
- Stay connected – Use USB and prevent computer sleep mode during cutting to maintain a stable connection.
- Keep it clean – Use canned air to remove sawdust and debris for optimal blade performance.
- Stay attentive – Don’t leave your Cricut Maker unattended while using the knife blade.
- Use the appropriate mat – Utilize the StrongGrip mat when cutting with the knife blade.
- Ensure complete cuts – Check if the material is fully cut before unloading the mat, and make another pass if needed.
- Optimal design size – Make sure intricate designs are at least 3/4 inch for easier cutting.
What Are the Benefits of Puzzles?
Puzzles may seem like just a fun pastime, but they offer numerous benefits for both children and adults. Some of these benefits include:
- Improve cognitive skills: Puzzles require critical thinking, problem-solving, and spatial awareness skills to be completed successfully. This can help improve memory, concentration, and overall cognitive function.
- Enhance fine motor skills: Manipulating puzzle pieces helps improve dexterity, hand-eye coordination, and fine motor skills in children.
- Boost creativity: Assembling puzzles can inspire creativity by allowing individuals to play with shapes, colors, and patterns.
- Encourage teamwork: Completing a puzzle as a group promotes communication, cooperation, and teamwork.
- Reduce stress: Focusing on a puzzle can be therapeutic and help reduce stress and anxiety.
- Provide a sense of accomplishment: Completing a puzzle, especially a challenging one, gives a sense of satisfaction and achievement.
- Improve visual perception: Puzzles require individuals to identify similarities and differences between pieces, improving visual perception skills.
- Enhance problem-solving skills: Figuring out how different pieces fit together can help improve problem-solving skills.
By building puzzles, individuals of all ages can reap these benefits while having fun and relaxing at the same time. So next time you’re looking for a new hobby or activity, consider picking up a puzzle and experiencing its many advantages. Overall, puzzles are not only a source of entertainment but also promote various cognitive and social skills
FAQs
How do you cut round edges?
Achieve perfect round edges effortlessly with a precision X-acto knife. In case of urgency, any small, sharp blade such as paring knives or box cutters will do the job too. For added precision, utilize the eraser of a small circular object like a pencil or pen as a guiding tool. Another option is to use a scroll saw, which allows for more control when cutting round edges.
Is the knife blade safe to use?
The Cricut Knife Blade is designed with safety in mind. However, as with any sharp tool, it’s important to always handle and operate it carefully. Keep out of reach of children and be sure to read all instructions before use. Always use proper safety equipment such as gloves and goggles when operating the knife blade.
Can I cut multiple layers of material at once?
It’s not recommended to cut multiple layers of material with the knife blade, as it may result in incomplete cuts or damage to the blade. It’s best to cut one layer at a time for optimal results.
How often do I need to replace the knife blade?
The lifespan of the knife blade depends on various factors such as frequency of use, type of materials being cut, and how well it is cared for. It’s recommended to visually inspect the blade before each use and replace it if it appears dull or damaged. On average, the knife blade should last for approximately 6-8 months with moderate use.
Can I use the knife blade with all Cricut machines?
The Cricut Knife Blade is specifically designed for use with the Cricut Maker machine. It is not compatible with other Cricut models such as the Explore or Joy. Make sure to check your machine’s compatibility before attempting to use the knife blade. Overall, using the Cricut Knife Blade allows for endless possibilities in crafting and creating unique designs with precision and ease. By following these tips and techniques, you can achieve professional results every time. Happy crafting!
How can I make my cut edges smoother?
As your cutting knife dulls over time, it may leave you with unsightly ragged edges on your puzzle pieces.
It’s time to take action. By regularly changing your cutting blade and incorporating some light sanding, you can achieve smooth, professional-looking results. Discover the secrets to flawless cut edges and showcase your puzzles with pride.
What is lacquer and is it necessary to use?
Lacquer is a transparent coating used as a sealant. While it is not mandatory to use lacquer, there are other alternatives such as gloss or even clear nail polish, as long as they are of high quality and provide the desired clarity. These coatings provide a protective layer to your puzzle and enhance its overall appearance. So, while it isn’t necessary, using lacquer or other sealants can help preserve your puzzle for years to come. Remember to test the coating on a small corner before applying it to the entire puzzle. This will ensure that it does not damage or change the colors of your puzzle.
Can I turn my puzzle into wall art?
Absolutely! Once your puzzle is assembled, you can preserve it as a piece of wall art by framing it. There are also special adhesive sheets available that allow you to transfer your puzzle onto a canvas for a more permanent display. Get creative and find unique ways to showcase your puzzle masterpiece! Share your ideas with others in the crafting community for even more inspiration. The possibilities are endless!
Conclusion
As you can see, creating a puzzle is not as complicated once the basics are understood. It’s messy and time-consuming, but fulfilling when the final product is complete.
Hopefully, with this article, the process of making your puzzles has been illuminated and we’ve inspired you to make one yourself! It’s sure to give you hours of joy as you work on it and for those who solve it (or try to).
So grab some cardboard, and an X-Acto knife, start sketching out a plan, and find some pieces. You could even enlist some friends to help gather puzzling pieces or brainstorm ideas. With a little creativity and patience, your puzzle will come together so quickly you won’t feel it!
And that feeling of accomplishment upon completion? Unrivaled nirvana! So get ready…it’s time to assemble a wonderful piece of art with the same satisfaction as if it had magically appeared before your eyes!
Thanks for reading our article How To Make a Puzzle. If you want to know more information, visit our website here.
Read more:
How to Make a Puzzle – wikiHow
How to Make a Puzzle With Cardboard