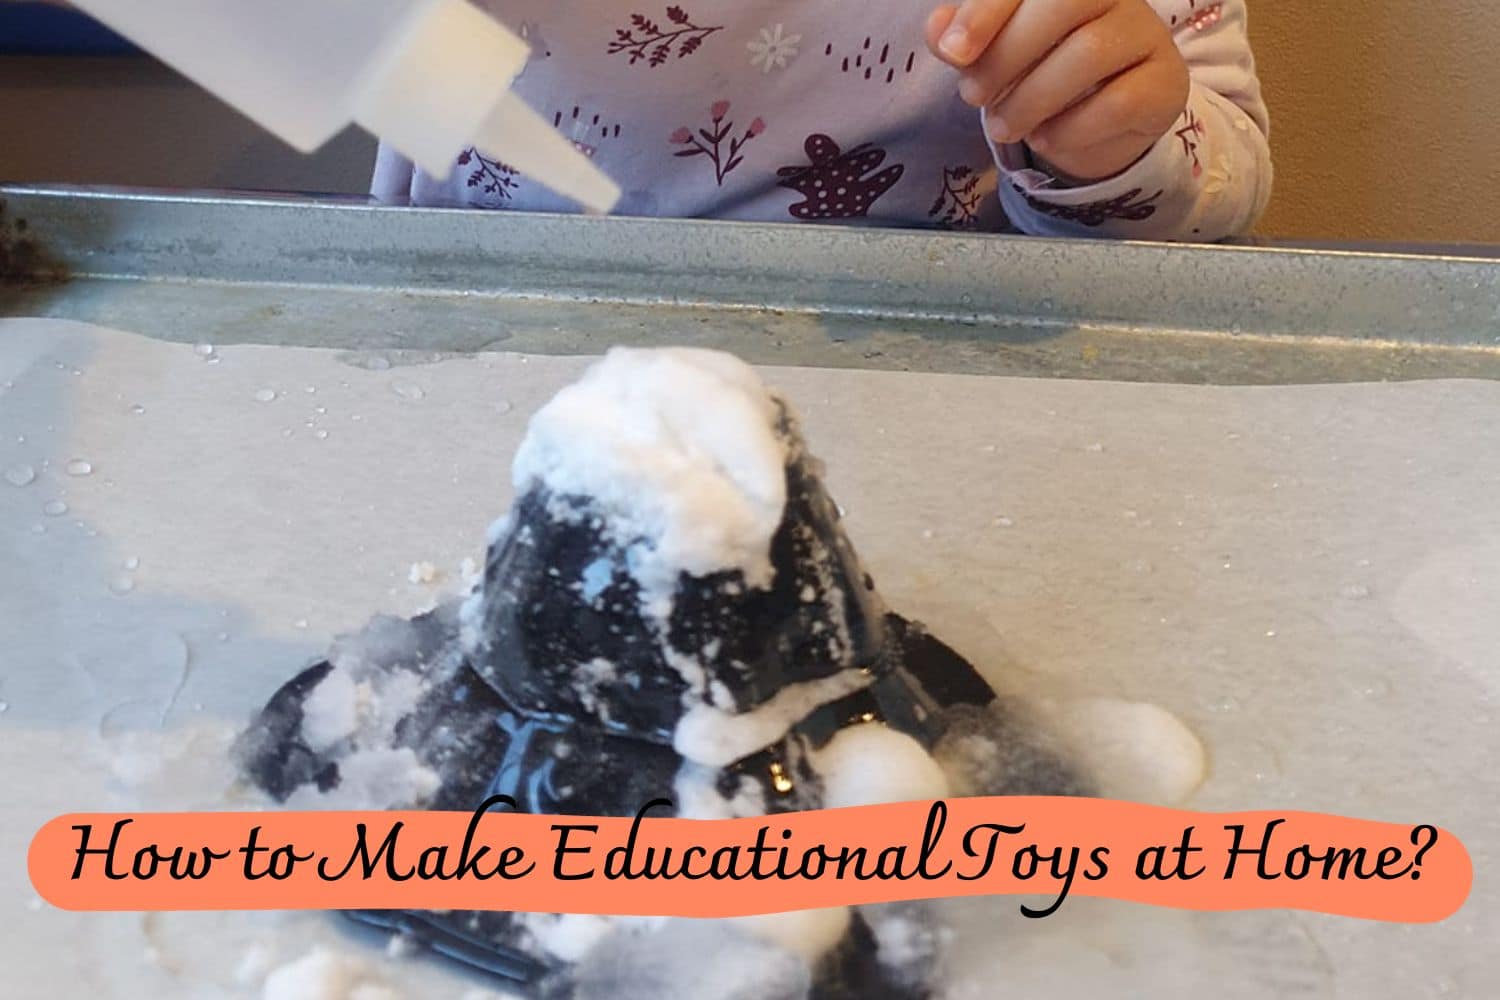
Are you looking for fun and educational activities for your kids? Learn how to make educational toys at home with household items from the comfort of your home!
How to Make Educational Toys at Home?
Are you looking for ways to get your kids engaged in educational activities? Do you want to have fun while helping them learn? Why not try making some educational toys at home?
With a few supplies and some creative thinking, you can make enticing playthings that will help your children learn without feeling like they are doing schoolwork.
In this blog post, we’ll walk through how to make educational toys at home from items around the house. Keep reading to find out more about crafting tools for exploration and discovery!
What Are Educational Toys?
Educational toys are playthings designed to stimulate learning in children. They aim to develop specific skills or knowledge as kids interact with them. Some examples of educational toys include puzzles, building blocks, and science kits.
Why Make Educational Toys at Home?
There are many benefits to making educational toys at home for your kids. Firstly, it is a fun and engaging activity that you can do together as a family. It allows for quality time and bonding while also promoting learning.
Additionally, making educational toys at home is cost-effective. Instead of spending money on expensive toys, you can create your own using items that you already have at home.
It also allows you to personalize the toys according to your child’s interests and abilities. This way, you can cater to their specific needs and make learning more enjoyable for them.
How to Make Educational Toys at Home?
Now that we have discussed the benefits of making educational toys at home, let’s dive into the process. Here are some ideas for simple and fun educational toys you can make with common household items:
- DIY Board Games: Create your own board game using cardboard, markers, and dice. You can customize the gameplay to focus on a specific subject, such as math or spelling.
- Homemade Playdough: Make your playdough using flour, salt, water, and food coloring. Not only is this a fun sensory activity for kids, but you can also add educational elements like counting or color mixing.
- Sensory Bins: Fill a bin with rice, beans, or pasta and hide small toys or objects inside. This activity improves fine motor skills and can be used to teach colors, shapes, or letters.
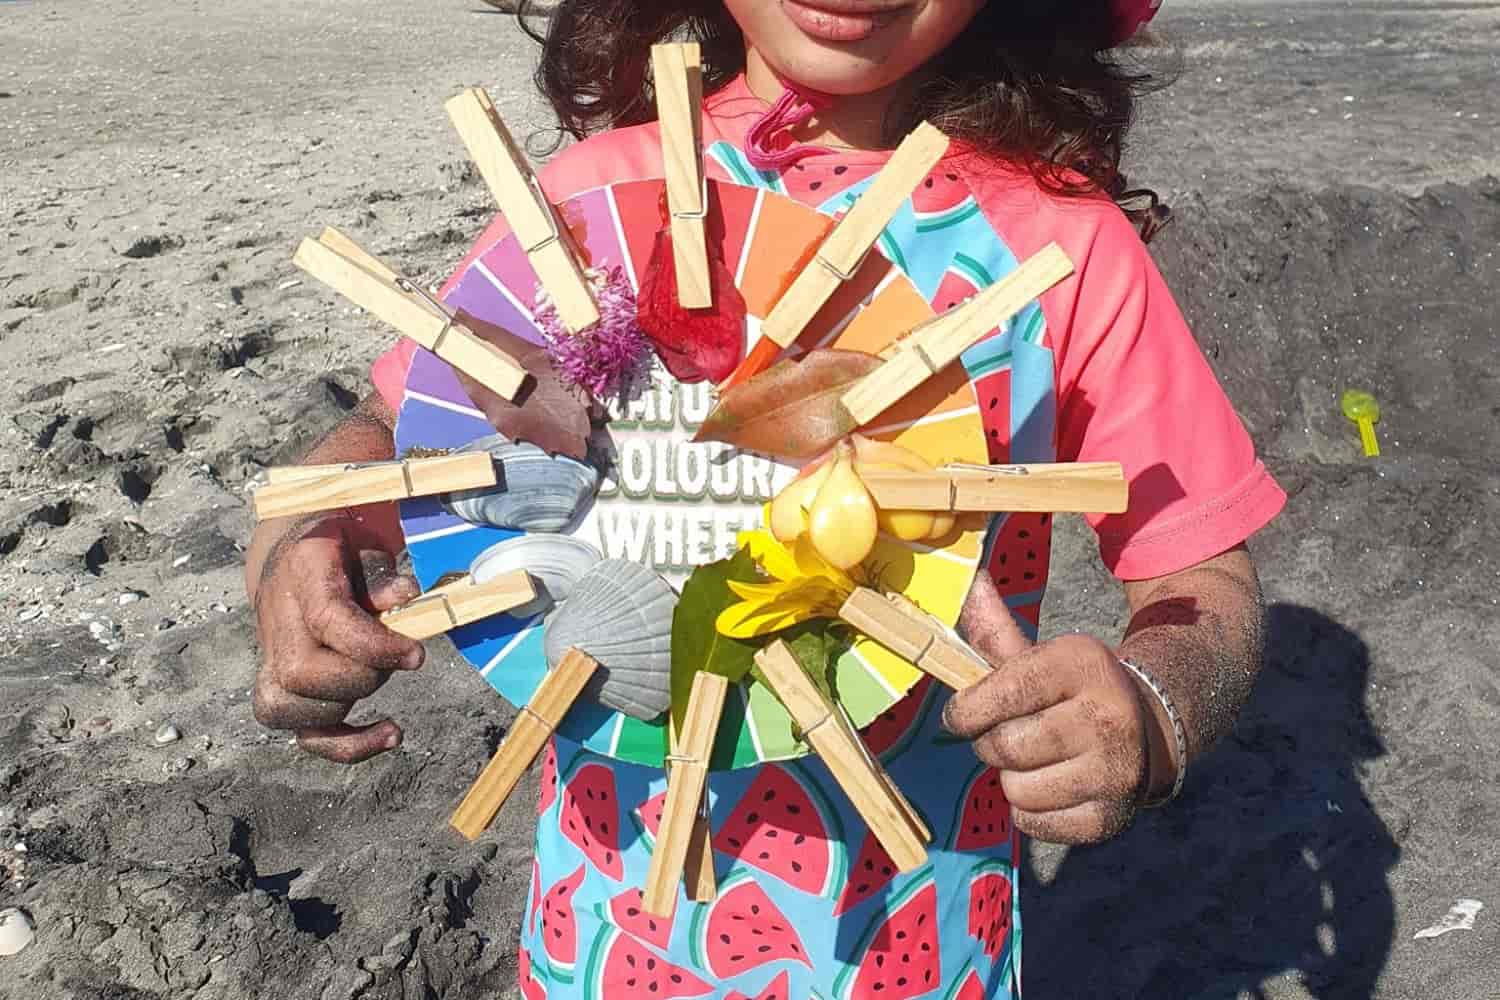
- Nature Scavenger Hunt: Take a walk in your backyard or local park and create a scavenger hunt with a list of items for your child to find. This promotes exploration and teaches them about different plants and animals.
- STEM Challenges: Use household items like toothpicks, straws, and rubber bands to create STEM challenges for your child. These activities promote critical thinking and problem-solving skills.
DIY Educational Toys Ideas
#1 Cardboard Shape Puzzle
Essential Supplies:
- 2 Cardboard pieces (11-inch x 12-inch with one side white for contrast)
- Recycled Juice Bottlecaps (or similar knobs)
- X-Acto knife or utility blade
- Scissors
- Craft glue or glue gun
Optional Supplies:
- Geometric shape puzzle piece templates and cards
- Glue stick
Instructions:
Step 1: Design and Cut Out Shape Templates
Easily create your desired shape templates and cut out the shapes. You can use two copies, one for each side of the puzzle pieces, or customize it however you want.
Step 2: Trace Shapes onto Cardboard
Using a pencil or marker, accurately trace around all the shapes. This will prevent any ink or marks from appearing on the “nice” side of the puzzle.
Step 3: Carefully Cut out the Shapes
Use an X-Acto knife or utility blade to meticulously cut along the traced marks. Take your time and ensure that you don’t go beyond the lines. This might be the most time-consuming part, but once it’s done, you’re on the right track!
Step 4: Smooth the Edges of the Shapes
The pieces might fit tightly, so if you want to make it easier for your toddler, gently push the sides of the cutout shapes with your finger, use sandpaper to widen the cutouts slightly, or trim a bit with the X-Acto knife.
Step 5: Glue the Cutout Board onto a Solid Piece of Cardboard
Using craft glue or a hot glue gun, securely attach your cutout board to a second solid piece of cardboard of the same size. Let it dry completely.
Step 6: Add the Patterned Paper to Each Puzzle Piece
Attach the patterned shapes onto your cardboard puzzle pieces using a glue stick or, for added protection, apply a layer of Mod Podge. This will keep small hands and mouths from damaging the design.
Step 7: Enhance Each Puzzle Piece with Plastic Bottle Cap Knobs
To make it easier to grab the pieces, add plastic bottle cap knobs to the top and middle of each puzzle piece. Use craft glue or a glue gun for maximum durability.
Step 8: Give It a Try
Before handing it over to your little one, make sure all the puzzle pieces fit correctly. There’s nothing more frustrating than pieces that don’t fit. If needed, use an X-Acto knife to trim the cardboard and ensure a perfect fit.
#2 Cardboard Stackers
Materials:
- Cardboard
- Ruler and/or Yard Stick
- Scissors
- Pencil
- Craft Paint
Instructions:
- Choose your desired size for the stackers. We recommend a 2″ x 4″ shape with 1/2″ slits cut one inch from the corners. Use a ruler or yardstick to measure and mark these dimensions.
- Carefully cut out the individual pieces according to your measurements.
- Take craft paint and apply an even coat to each piece.
- Allow the paint to dry completely before using the stackers.
- Get creative and experiment with different shapes to build with.
#3 Cardboard Maze
Materials:
- Shallow cardboard box
- Optional: Paint to personalize your maze
- Straws for added structure
- Mini wooden beads, blocks, and spools for obstacles
- Hot glue gun (low temperature for child-friendly use) to hold it all together
- Scissors, pencil
- Small marble or wooden bead
Instructions:
- Optional: Add some color to your box by painting it. Encourage your child to unleash their creativity by drawing a maze on the box using a pencil.
- Help your child cut out straws and use hot glue to attach them along the lines of the penciled maze.
- Use wooden bits, beads, or mini wooden spools as stoppers in the maze.
- Once your maze is complete, it’s time to play! Use a wooden bead or marble to navigate through your newly constructed maze.
Conclusion
Making educational toys at home is a great way to keep kids engaged in learning while also having fun. With the ideas listed above, you can easily create fun and educational activities using items you already have at home.
So why not get creative and start making your educational toys today? Your kids will thank you for it! So, start crafting, and let the learning begin!
Thanks for reading our article How to Make Educational Toys at Home? If you want to know more information, visit our website here.
Read more:
18 Creative Kids’ Art Supply Storage Ideas
Why Educational Toys Are Important?