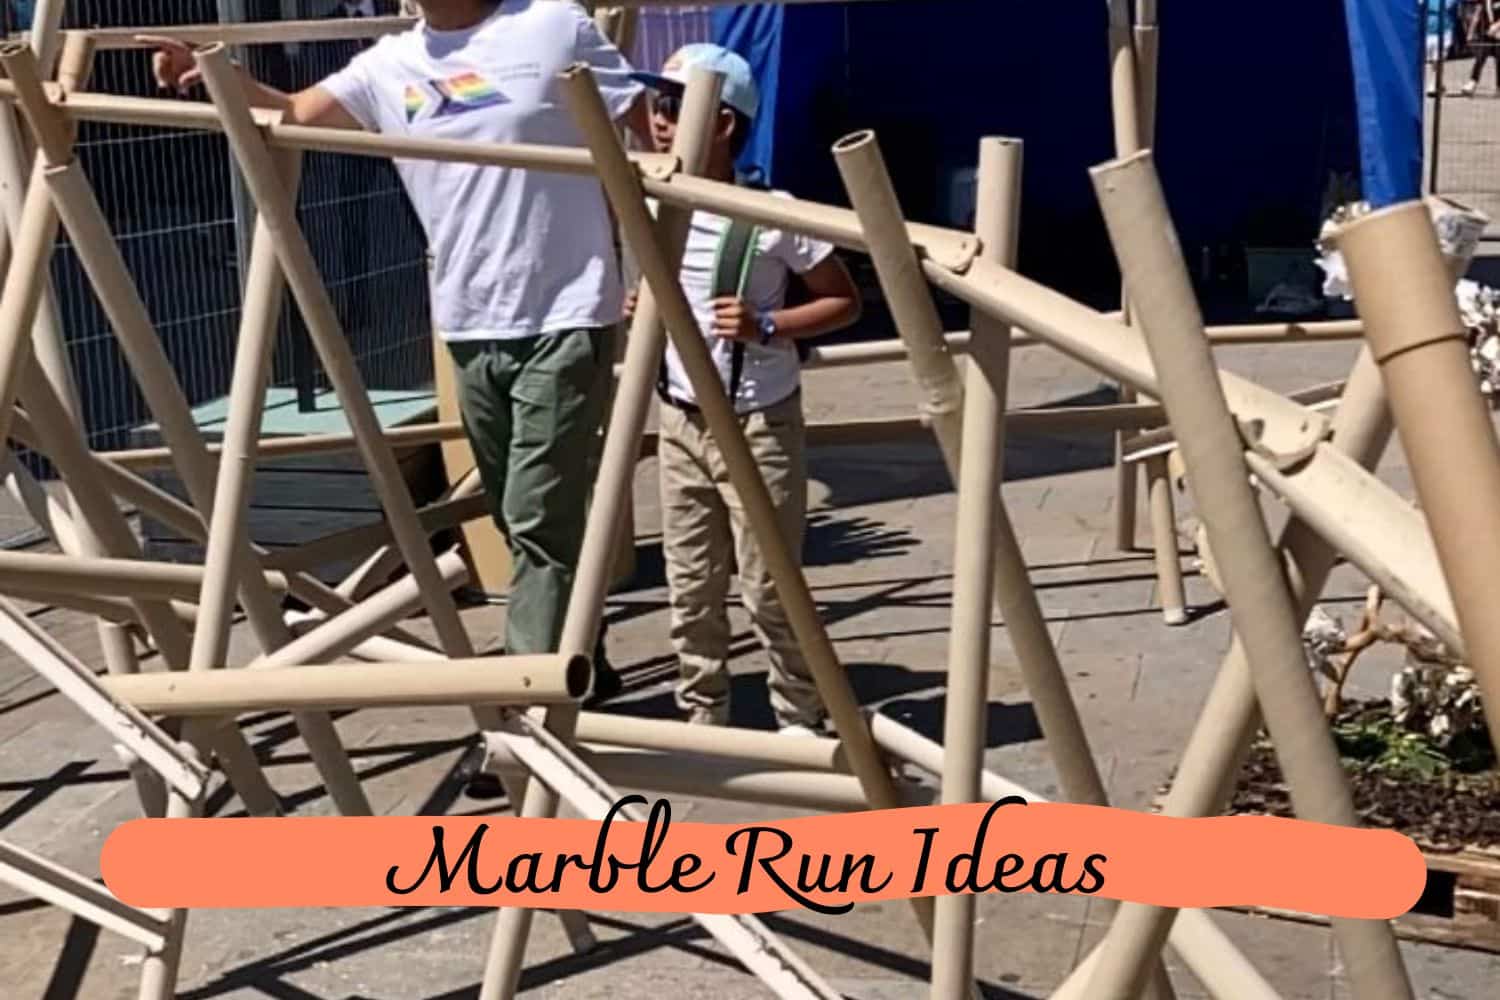
Looking for ways to keep your kids entertained? Check out our list of fun marble run ideas that will get them excited about building!
Fun Marble Run Ideas for Kids
Are your kids bored at home and in need of an exciting new activity? Look no further! Marble runs are a great way to keep children entertained while also teaching them the physics behind the movement.
Not only that, but they can help spark creativity and problem-solving skills. Plus, you don’t need any expensive materials or complex machinery either – just some cardboard tubes, marbles, and a whole lot of imagination!
With a few cool marble run ideas for kids in your back pocket, both parents and young ones alike will have hours upon hours of fun ahead.
What Is a Marble Run?
A marble run is a type of toy or game that involves creating a track made up of different pieces, such as tubes, ramps, and tunnels, for marbles to roll down. It can be simple or complex, with endless possibilities for design and construction.
The objective is to create a continuous chain reaction where the marbles move from one piece to another, ultimately reaching the end of the track. It’s a hands-on way for children to learn about gravity, velocity, and other physical concepts while having fun at the same time.
Why Are Marble Runs Great for Kids?
Marble runs are not only entertaining, but they also offer various developmental benefits for kids. Let’s explore some of the reasons why marble runs are great for children:
- Promotes problem-solving skills: Assembling a marble run requires critical thinking and planning to ensure that all the pieces fit together and create a functioning track. Children will have to use trial and error, making adjustments as needed, which can help enhance their problem-solving skills.
- Encourages creativity: With so many different pieces and ways to construct a marble run, kids can let their imaginations run wild. They can design unique tracks and experiment with new layouts, allowing their creativity to flourish.
- Teaches physics concepts: Marble runs are a hands-on way to introduce children to basic physics concepts such as gravity, momentum, and velocity. They can observe how these principles work in action as they build and play with their marble run.
- Fosters fine motor skills: Constructing a marble run involves handling small pieces and manipulating them into place, which can help improve hand-eye coordination and fine motor skills in young children.
Fun Marble Run Ideas to Try
1: Cardboard Tube Marble Run
Cut up different-sized cardboard tubes and use them to create a maze-like track on a large piece of cardboard or poster board. Add ramps, tunnels, and other obstacles for the marbles to navigate through.
Supplies:
- Painter’s tape
- Cardboard tubes of various sizes
- Scissors
Instructions:
Step 1: Design Your Marble Run
Begin by considering the angles and determining where you want your marble run to end. Planning is essential in creating a successful cardboard tube marble run.
Step 2: Build Your Cardboard Tube Marble Run
Using tape, securely attach the cardboard tubes to the wall. Ensure you have enough tape ready to use throughout the process. Have fun as you design and assemble your marble run!
Step 3: Test Your Cardboard Tube Marble Run
The most exciting part of this STEM project is finally getting to see your marble run in action! Take the time to test and observe how the marbles navigate through your creation.
2: LEGO Marble Run
Use LEGO bricks to build a track for the marbles to roll down. You can also add moving parts using gears and motors for an added challenge.
Supplies:
- Basic LEGO bricks
- Marbles
- LEGO Base Plate
Instructions:
Step 1: Design Your Marble Run
Begin by considering the angles and determining where you want your marble run to end. Planning is essential in creating a successful cardboard tube marble run.
Step 2: Build Your Cardboard Tube Marble Run
Using tape, securely attach the cardboard tubes to the wall. Ensure you have enough tape ready to use throughout the process. Have fun as you design and assemble your marble run!
Step 3: Test Your Cardboard Tube Marble Run
The most exciting part of this STEM project is finally getting to see your marble run in action! Take the time to test and observe how the marbles navigate through your creation.
3: PVC Pipe Marble Run
Get some PVC pipes from your local hardware store and use them to create a large track for the marbles. You can even add different angles and heights for added difficulty.
Supplies:
- PVC pipes of various sizes
- Caps and connectors for the pipes
- Marbles
4: Magnetic Tiles Marble Run
Use magnetic tiles or building blocks to construct a marble run that sticks together with magnets. This is a great way to introduce young children to the concept of magnetism while they have fun playing.
Supplies:
5: Sandbox Marble Run
Fill a sandbox with sand and use different materials, such as PVC pipes, cardboard tubes, or wooden blocks, to create a track. This is a great option for outdoor play!
Supplies:
- Sand
- PVC pipes, cardboard tubes, or wooden blocks
- Marbles
6: Magnet Maze
Supplies:
- A paper plate or thin cardboard
- Some decorating supplies like crayons, pencils, or markers
- A strong magnet
- Small steel balls or other magnetic metal objects.
Tips:
- Create your unique maze design! Any shape will do, as long as there is a marked path to follow. Consider using a squiggly line or a spiral for added fun.
- To set up the game, place a steel ball on one side of a paper plate and a magnet on the other side.
- Now, move the magnet underneath the plate. The magnetic force will cause the ball to move along the maze!
- Keep in mind that younger children may find this task challenging at first. Since they can only see the ball, not their hand, it may take a few attempts before they get the hang of it. So, don’t be surprised if it takes some practice!
- Overall, this magnetic maze game provides a great opportunity for kids to improve their hand-eye coordination and problem-solving skills. Give it a try and watch the excitement unfold!
7: Pipe Insulation Marble Run
Materials:
- 6 feet of foam pipe insulation (1 1/4 inches wide, 3/8 inch wall thickness)
- Tape
- Marbles
Instructions:
Step 1: Cut foam tubes in half.
Step 2: Tape the two halves together to create a 12-foot-long tubing.
Step 3: It’s time to have some fun! Start by finding a spacious area inside or outside your house to set up the marble run.
- Tape one side of the tubing onto a high surface like a table.
- Allow the kids to roll the marble down the tube without any hills to see what happens.
- Find objects like pillows, shoeboxes, or books to create hills under the tubing. The kids used our felt Christmas trees!
- Experiment with moving the hills or making them taller to observe the marble’s behavior.
- Once you’ve explored with one hill, add a second hill and continue to explore.
Step 4: Take time to fully explore the marble run with two hills. It’s fascinating to watch the kids figure out where the hills can be placed along the track.
Step 5: After experimenting with the hills, the kids discovered a long cardboard tube from an old roll of wrapping paper. They used it to create a tunnel by inserting the track inside the tubing.
8: Changeable Magnetic Marble Run
Supplies:
- A large oil change tray
- Clear vinyl tubing with a 1″ outside diameter (OD) and 3/4″ inside diameter (ID).
- 3/4″ PVC pipe.
- 3/4″ PVC elbows and T-joints.
- Suction cups.
- E6000 Glue.
- Craft Sticks.
- Hot glue.
- Ceramic magnets.
Instructions:
- Our work surface is a large oil change tray for various magnet play activities. It proves to be an excellent work surface.
- Attaching the magnets directly to the PVC elbow joints was a bit challenging, so we used a craft stick segment as an intermediary. By gluing the craft stick segment to the PVC with E6000 glue, we created a flat surface to adhere to the magnet.
- We also utilized suction cup joints, originally built for our changeable water wall. Although the suction cups provide a stronger attachment to the tray compared to the magnets, the magnets offer greater maneuverability, especially for young children. Having a combination of both proves to be beneficial.
- In addition, we affixed a magnet to a small plastic bottle to serve as a marble catcher.
- Once we had enjoyed our marble run for a few days, we decided to build some track pieces using craft sticks and hot glue. These track pieces are delightful as they enhance the ability to send the marble back and forth in a limited space. They are also easily adjustable.
- For each section, we used four craft sticks and attached two magnets on the back. After demonstrating how to make one, Aidan built several more himself using the low-temp glue gun.
9: Pegboard Marble Run
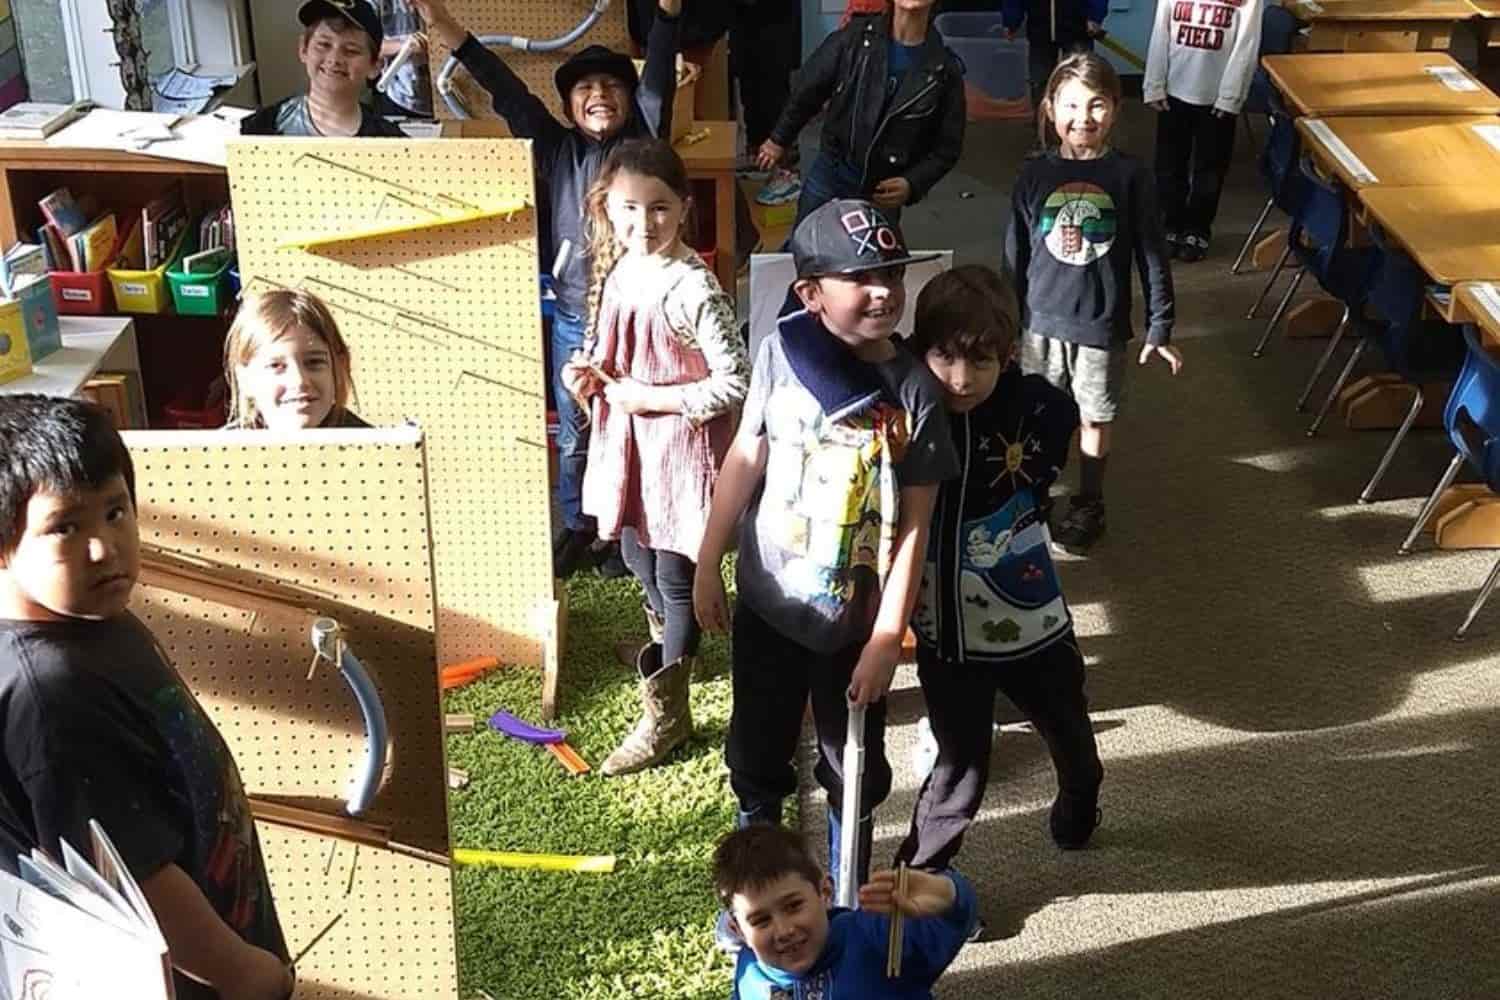
Materials:
- Foam pipe insulation (1 inch inside diameter, 2 inches outside diameter). For younger children, use a larger size of insulation and a larger ball instead of a marble. Pool noodles can also be used.
- Zip ties
- Pegboard
- Empty water bottle
- Rubber bands
- Twist ties
- Scissors
Instructions:
- Start by cutting the foam pipe insulation into various lengths, as well as trimming the top for enhanced visibility of the marble’s descent. allowing for different track configurations.
- Attach the foam pipe insulation to the pegboard using zip ties. Create ramps and tunnels, allowing the marbles to glide through smoothly.
- Incorporate the empty water bottle into the marble run as a funnel or drop point, creating additional twists and turns. Due to the ineffectiveness of zip ties in securing the water bottle to the pegboard, I resorted to using elongated rubber bands. The rubber bands were fastened together at their ends with twist ties.
- Test your marble run by releasing a marble from the top and observing how it navigates through the trail. Make adjustments as needed to improve the design and functionality.
- Enjoy the excitement and fun of your newly created marble run!
Note: Always supervise children during playtime and ensure they are using age-appropriate materials and following safety guidelines.
#10 Play Dough Marble Run
Recommended Age: Ages 10+ as an independent project (best done in groups) or ages 6+ with adult supervision.
Construct a thrilling marble run with a flexible play dough path! Utilize paper cups as the ideal support structure, easily adjustable to any height. Shape the play dough into curved pathways for an exciting marble journey. If the marble goes off course, simply raise the sides of the path. Working with play-dough is a fantastic material for this project!
While homemade play dough is usually preferable, store-bought works better for this endeavor due to its firmer texture. You’ll need 4-5 cans of play dough per marble run. If you’re conducting this project with a STEM club or class, making your play dough can save money. However, keep in mind that making a large amount would be time-consuming.
Supplies:
- Play Dough
- Paper Cups
- Craft Sticks
- Scissors
- Tape
- A large, flat cardboard box
Instructions:
- Children can use scissors to customize the height of the cups as support. I recommend starting from the bottom and gradually progressing upwards.
- For a sturdy foundation, we discovered that a budget-friendly cookie sheet or a large, flat cardboard box works well. When the project is complete, the tape can be easily removed from the cookie sheet and cups for reuse.
- As we built taller structures, we found that including a craft stick underneath each section provided extra stability for the play dough pathways.
- At the top of the marble run, we extended the height of the supports by joining a couple of cups together using duct tape.
#11 Marble Trampolines
Materials:
- Sturdy PVC pipes with a 3/4 inch inside diameter (exact size not crucial)
- Versatile building toys
- Marbles for thrilling racing action
- Small plastic cups and bowls for added excitement
- 12-inch balloons for gravity-defying fun
- Trustworthy painter’s tape/masking tape for secure assembly
- Convenient scissors for seamless customization.
Instructions:
- Cut a PVC pipe in half lengthwise using a saw and miter box. Don’t worry if it’s not perfect, it will still work well.
- Alternatively, use paper towel rolls as another great option.
- To make trampolines for the marble runs, cut the neck off a balloon.
- Stretch the balloon over the top of a plastic cup.
- Drop a marble on the balloon and watch it bounce!
- Now it’s time to create the marble runs. Start with a simple track using cardboard boxes as supports.
- Attach the PVC pipe to the supports using masking tape.
- If needed, use a PVC pipe connector in the middle to join two pipe sections.
- Enjoy your marble run with one trampoline and a container to catch the marble.
Have fun with endless marble run creations using these simple techniques!
#12 Paper Plate Spiral Marble Track
Supplies:
- A mailing tube
- Paper plates
- Clear tape
- Hot glue.
Instructions:
- To start, simply trace the end of a mailing tube onto a paper plate and effortlessly cut out the circle using an X-Acto knife. While scissors can do the job, the X-Acto knife truly makes it easier.
- Once you have 8 plates with circles at the center, cut a straight line from the center to the edge of each plate.
- Take the time to make marks on the tube to indicate the distance between the plates. This step is crucial! Initially, having the plates 1.5 inches apart caused the marbles to fly off. However, after adjusting to 1.25 inches apart, everything worked perfectly!
- Please note that the slope of your track will depend on the size and characteristics of the plates used. Some trial and error may be involved in finding the perfect fit.
- Starting from the top, securely attach the paper plates to the tube using hot glue. Ensure that each plate begins at one mark and ends at the next.
- For added stability, connect the joints between the paper plates with clear tape. Duct tape can also be used.
- To provide stability, we recommend hot gluing the finished marble track to a square cardboard base. We’ve had no issues with tipping or breakage, even with heavy use! While it may not be a long-term toy, it is certainly a favorite until it eventually finds its way to the recycling bin.
Now it’s time to play! Enjoy the excitement of adding marbles one by one, or go all out and pour the whole bucket at once!
#13 Recycled box marble run
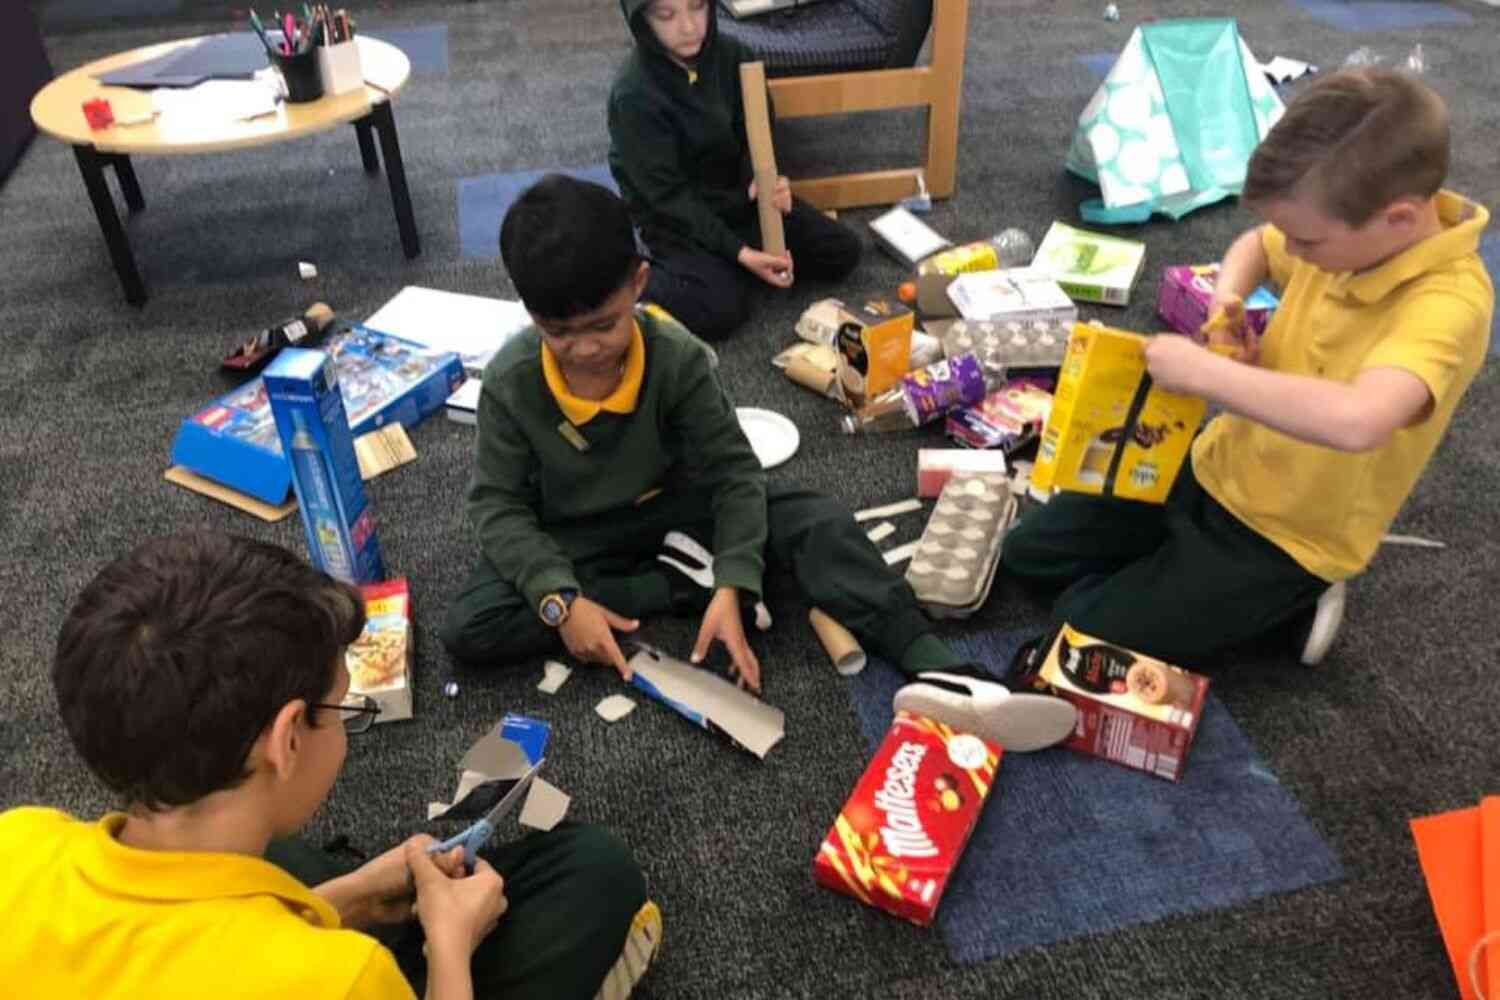
Materials:
- One or Two boxes (old toy box or cereal box)
- Sticky tape
- Scissors
- Marbles
Instructions:
1) Start by building a simple marble run and then progress to a more challenging design that crisscrosses. For both versions, remove one side of the box and lay out the pieces.
2) For the simple marble run, cut 4 panels. These panels may be slightly shorter when angled, but you can resolve this by securing them with tape. This will slightly narrow the sides of the marble run. For the crisscross design, if your box has flaps, you can utilize the extra cardboard. Cut 8 panels, which may be narrower but still workable. Enlist a crafty friend to help with sticking the pieces together.
3) In the simple marble run, cut holes at either end for the marbles to drop through. Two holes should face one side and two on the other. In the crisscross design, slot the two pieces of cardboard together and create additional holes for the marbles to run through.
Refer to the photos to see the pattern. Note that it’s important not to cut halfway through both panels, as this could cause the whole structure to fall apart.
One panel should have a slot 2/3 of the way along, while the other panel should have a slot 1/3 of the way along.
This allows for the proper placement of the second hole. While the photos show a square hole, we recommend making the hole slightly larger, resembling a rectangle, to allow for smoother movement.
4) Secure the simple marble run with tape. Incline it slightly against the back of the box to prevent the marbles from jumping out of the sides. For the crisscross design, use tape to draw in the sides and secure it all around, including an extra piece of tape at the cross-section.
5) If desired, decorate your cardboard marble run. Let your creativity shine.
6) Stack your marble runs and enjoy endless playtime with your cardboard creation.
#14 Marble roller coaster
Materials:
- Pool noodles
- Duct tape
- Scissors
- Small marbles
- Paper cup
Instructions:
Step 1: Create your roller coaster using pool noodles and tape! Start by cutting one pool noodle in half lengthwise to get two pieces of track.
Then, secure one piece of track to a chair, table, or countertop to form a steep hill. Place a cup at the bottom of the track and test out the hill by releasing a marble from the top – it should end up in the cup. If the marble comes off the track, adjust the pool noodle and try again.
Step 2: Now, it’s time for your child to design and engineer the rest of the coaster. Remove the cup and use the other half of the pool noodle to continue the track.
Use duct tape to attach it to the bottom of the hill, making sure to smooth out the tape to prevent the marble from jumping off. Create small hills by bending the pool noodle and taping it in place, or make a loop by curving the free end up and over and securing it with duct tape.
Step 3: Place another cup at the end of the track and test out your coaster again. If the marble continues to come off, adjust the track by loosening the tape. Building the track is like building a maze. Have fun!
Conclusion
Hopefully, these 14 marble run ideas have piqued your kids’ imagination and have gotten them excited about having fun and learning at the same time. Marble runs are a great way to help children build strength and dexterity in their hands, as well as problem-solving skills.
Go browse around your local toy store or hop online and start assembling a new marble run—your kids will be ever so excited to get going on it! And don’t forget that you can always add more challenges for extra fun.
Whether you decide to create one of these 14 ideas or come up with something unique, one thing is for certain: your kids will have a blast playing with marbles all day long. Don’t let another second pass—gather the supplies today and get playing!
Thanks for reading our article. If you want to know more information, visit our website here.
Read more: