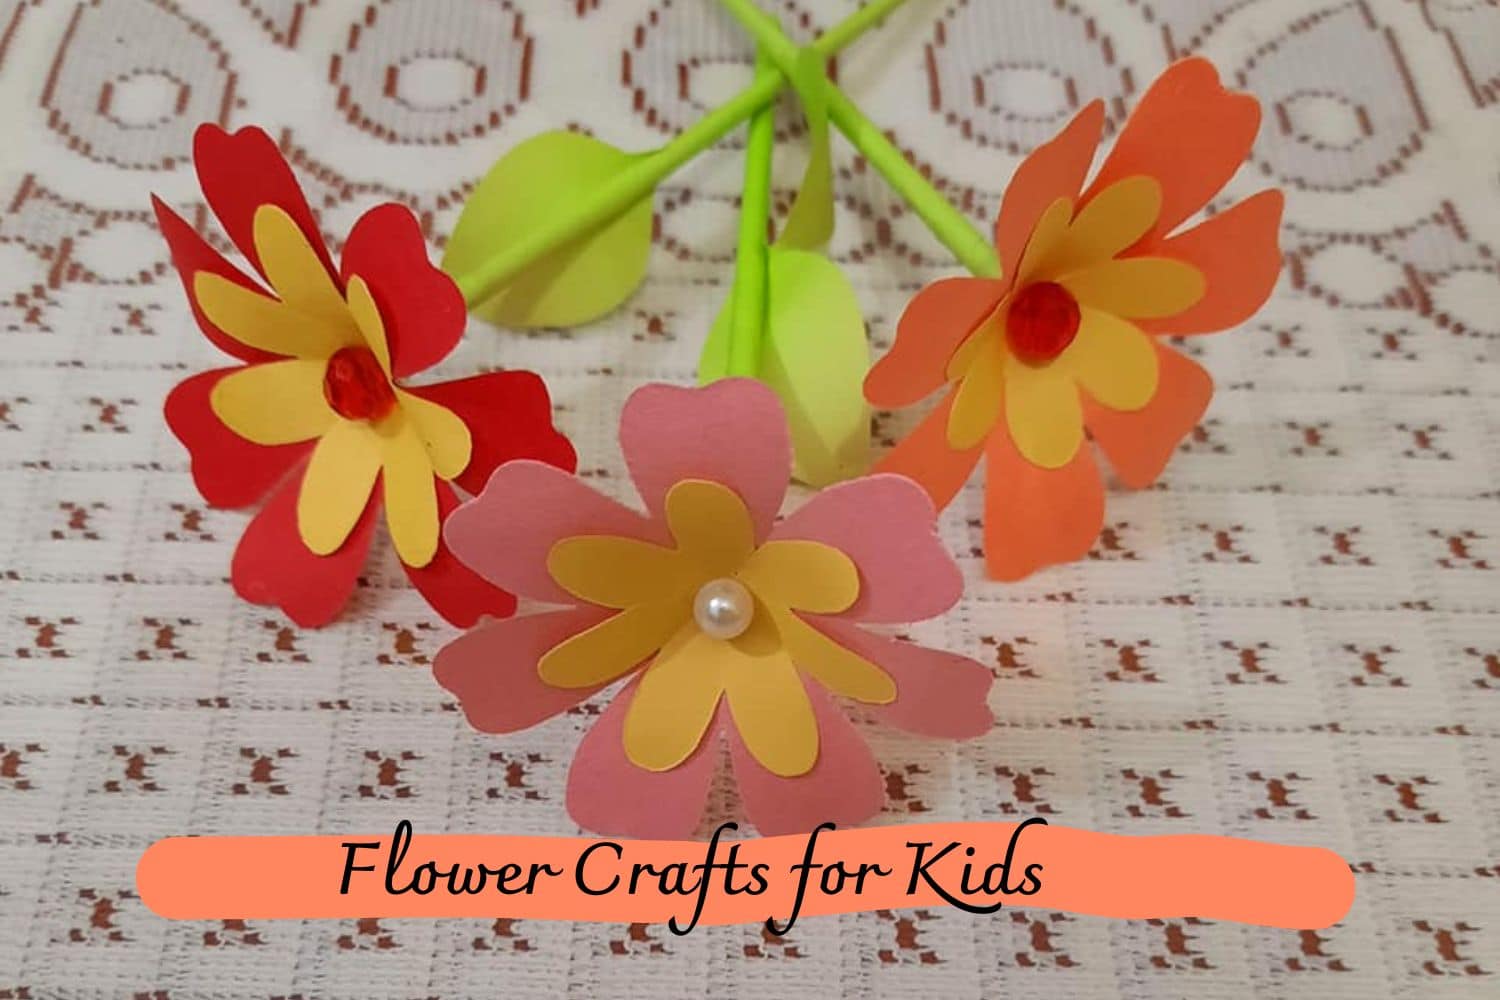
Keep the kids entertained and learn how to make imaginative flower crafts for kids using household items! Get our guide to help them create lasting memories.
Flower Crafts for Kids – Fun & Creative Projects
Do you want to introduce your children to the world of crafting but don’t know where to start? How about trying some easy and creative flower-themed projects that are perfect for kids of all ages?
From using felt, paper, and other materials, there are lots of ideas for parents or teachers who want to show their kids how much fun crafting can be.
In this blog post, we’ll look at various projects that will inspire your little ones to unleash their inner creativity with the help of vibrant and unique flower crafts for kids!
Flower Crafts for Kids Ideas
#1 Pasta and Paper Daisy Puppet
Supplies:
- Pasta noodles
- Wooden beads
- Apple Barrel Acrylic Craft Paint in green and yellow
- High-quality paintbrushes
- Green pipe cleaners
- White paper or cardstock
- Scissors
- Black marker
- Wooden skewer
- String or elastic cord for hanging
- Reliable hot glue gun
Instructions:
Step 1: Prepare the body
- Cut an elastic cord and slide one small and one large wooden bead onto it to create the daisy’s head.
- Fold two green pipe cleaners in half and attach them to the cord as arms and legs.
- Add pasta noodles along the body, arms, and legs, separated by small wooden beads. Refer to the 0:05 second mark in the video for a clear visual.
- Bend the ends of the pipe cleaners into loops to resemble hands and feet.
Step 2: Paint the components
- Paint all the pasta and wooden beads green, except for the large head bead which should be painted yellow.
- Allow the paint to dry completely.
Step 3: Add petals and face
- Cut out eight petal shapes from white paper and fold a small flap at the base of each.
- Use a hot glue gun to attach the petals around the yellow head bead.
- Use a black permanent marker to draw a cute face on the daisy.
Step 4: Assemble the daisy
- Tie the string from the top of the daisy’s head to a wooden skewer.
- Tie another piece of string from each hand onto the skewer.
#2 Greeting Cards From Leftover Paper Scraps
Materials:
- Pieces of scrap paper
- A4-sized thick white photo paper
- Black Sharpie marker
- Double-sided padded tape
Instructions:
Step 1: Have your child draw various flowers on pieces of paper. They don’t have to be perfect – a playful, childish look is what makes them adorable!
Step 2: Cut out all the flowers while your child continues to draw. This way, no one gets bored. Cutting out flower shapes can be challenging for a five-year-old, so you can help and do it faster. Remember, we don’t want them to be too neat – the goal is to maintain a childlike feel.
Step 3: Cut some tape and ask your child to stick the flowers onto a folded A4 paper. Make sure the paper is sturdy and white.
Step 4: Draw stems for the flowers.
And there you have it – personalized greeting cards made from paper scraps!
#3 Handprint Flower Bookmark
Supplies:
- Sticky Sticks Fan Handles
- Green Craft Paint
- Foam Paint Brush
- Small Paper Plate
- Kid Craft Scissors
- Green Craft Foam Sheet
- Choice of Color Craft Foam Sheet
- School Glue
- Marker
Instructions:
- Gather your materials: a sticky stick, craft paint, a small paper plate, and a paintbrush.
- Squeeze some green craft paint onto the paper plate.
- Paint the sticky stick green, covering it completely except for the adhesive tip area.
- Repeat these steps for each flower bookmark you want to create.
- Set the painted sticks aside to dry completely.
- While the paint is drying, trace your child’s hands onto craft foam in the desired color and cut them out.
- Also, cut out some leaves from green craft foam.
- Now it’s time to assemble your bookmarks. Peel off the plastic tab on the adhesive tip and place the handprint cutouts on top.
- Use glue to attach the leaves to the stem of the sticky stick.
- If desired, add any other embellishments.
- Set the bookmarks aside to dry completely before using them.
- Remember, these flower bookmarks can also be used as spring decorations or given as thoughtful gifts!
#4 Flower Art Made With Bubbles
Supplies:
- White card stock, white construction paper, or watercolor paper
- A straw
- A dish with low sides or a pie pan
- Green construction paper or watercolor paints for the leaves
- Scissors
- White glue
Instructions:
- Mix acrylic paint, dish soap, glycerin, and water to create a magical concoction that will delight both kids and adults alike.
- Once your bubble paint is prepared, it’s time to let the creativity flow. Fill a dish partially with the paint and let the kids have a blast blowing bubbles with their straws. The size of the bubbles determines the hydrangea effect, but remember, it’s all about having fun and embracing their imagination, rather than obsessing over perfection.
- While smaller bubbles create a more visually appealing result, starting with big bubbles ensures plenty of excitement for the little ones. Blow gently into the paint to form a dome shape, keeping it relatively small for best results. The colors truly come alive this way.
- Create stunning multi-colored hydrangea blooms by gently pressing card stock or watercolor paper over the bubbles, ensuring that it doesn’t touch the liquid. Repeat the process as many times as you desire until your paper is adorned with beautiful blooms.
- As your bubble paint bouquets dry, it’s time to add the finishing touch – the leaves. There are a few options for this step. You can paint the leaves directly onto the bouquet with watercolor paints, or for a 3D effect, cut out leaves from green construction paper and glue them onto the bouquet.
- Once the bubble paint is completely dry, carefully cut out each flower and glue them onto cardstock. Apply glue only to the middle portion of the flowers, allowing the edges to remain raised. Finally, tuck the leaves under the flowers for a truly breathtaking result.
- Unleash your creativity and enjoy the process of creating your very own bubble paint masterpiece. With a little imagination and a few simple steps, you can transform ordinary materials into a work of art.
#5 Daisy painted rocks
Supplies:
- Rocks of any size
- Acrylic paint brushes: one larger flat brush and another with a fine tip
- Multi-surface satin paint in Cotton Ball, Canary, School Bus, and Sky Blue
Instructions:
- Begin by painting the entire surface of the rock in a mesmerizing Sky Blue using a larger flat paintbrush. Allow it to dry completely.
- Grab a fine-tip paintbrush and create a short line, approximately ½” long, in a lovely Cotton Ball white. Then, paint another line intersecting the first to form a captivating “X” shape.
- Repeat the previous step, creating additional “X” shapes all over the surface of the rock. Make sure to apply a second coat of paint where needed to ensure maximum vibrancy.
- Now, switch to a delightful Canary yellow color. Randomly paint small yellow daisies in between the white daisies you’ve just painted.
- For an extra touch of elegance, take the back end of your paintbrush and dip it into the School Bus color. Dab small dots in the center of each daisy to create a stunning visual effect.
- Lastly, to add depth and fill in any remaining spaces, dip your paintbrush in School Bus yellow and paint additional daisies all over the rock’s surface. To capture the essence of the daisy, use the back end of your paintbrush dipped in Cotton Ball white to paint exquisite round centers.
#6 Gorgeous Paper Flower Easter Eggs

Supplies:
- Plastic colorful eggs (dyed eggs are also suitable)
- Martha Stewart Hydrangea punch
- Colorful paper
- Hot glue gun
Instructions:
- Create a vibrant floral design by punching out a variety of colorful flowers.
- Use a hot glue gun to carefully attach each flower to the egg, applying small dots of glue to the back. Arrange the flowers from top to bottom for a cascading effect.
#7 Plastic Spoon Flower Craft
Supplies:
- 3 plastic spoons
- Floral tape
- 3 pieces of green pipe cleaner (cut into thirds)
- 2 pieces of yellow pipe cleaner (cut into halves)
- 1 clear 9oz. cup
- Crinkle-cut brown paper shavings
- Low-temperature glue gun and glue sticks
- Alternatively, you can use Fabri-Tac as a substitute for the glue gun.
Instructions:
- Arrange all 3 spoons inward to form a triangle, focusing on the handles.
- Secure the spoons by wrapping floral tape around the middle, ensuring a tight hold.
- Continue wrapping the spoons with floral tape, starting from the middle and extending to the handle.
- Insert a green pipe cleaner into the gaps on the taped section for added decoration.
- For a pop of color, insert a yellow pipe cleaner down the center of the spoons, allowing some yellow to extend from the top.
- Attach the spoon bouquet to the bottom of a cup using glue.
- Fill the cup with brown paper for a finished look.
- Your spoon bouquet is now complete!
#8 DIY Bookmarks With Pressed Flowers
Supplies:
- Fresh flowers or leaves
- Heavy books
- Scissors
- Clear contact paper
Instructions:
- Place your chosen flowers or leaves between two sheets of contact paper, and then carefully sandwich them between the pages of a heavy book.
- Add some extra weight on top of the book and let it sit for a few days.
- Once your flowers are perfectly dried, use scissors to cut around them, and voila!
- You now have beautiful, handmade bookmarks to enjoy.
#9 Tissue Paper Flower Bracelet Crafts for Kindergarten
Supplies:
- Tissue paper in various colors
- Single-hole punch
- Scissors
- Pipe cleaner
- Beads
Instructions:
- Begin by cutting tissue paper into circles.
- Next, layer the pieces evenly and punch a hole in the center.
- Thread a pipe cleaner through the holes and tie a knot.
- To add a touch of elegance, decorate the ends of the pipe cleaner with beads and secure them with a knot.
- Voila! Your unique handmade paper flower bracelet is ready to wear.
#10 Easy Crepe Paper Flower Wreath
Supplies:
- Straw wreath
- Crepe paper
- Yarn
- Scissors
- Ruler
Instructions:
- Start by cutting the crepe paper into strips – two strips per flower. Accordion-fold each strip and twist the center to create a spiral shape. Now, let’s assemble the flower.
- Take the two larger spirals and overlap them to form the base of the flower. Use yarn to secure them together. For the petals, grab three of the smaller spirals and arrange them around the base, overlapping in the center. Secure everything with yarn. Repeat this step for the remaining petals.
- Once you have your gorgeous flowers, it’s time to attach them to the wreath using yarn. Hang the wreath on your front door or any other spot in your home that needs a touch of springtime cheer.
#11 Coffee Filter Flowers
Supplies:
- Round coffee filters
- Water-based markers
- Water
- Paintbrush
- Scissors
- Glue
- Paper straws
Instructions:
- Prepping the filters: Flatten five coffee filters and place them in a stack. Use a water-based marker to add color to the edges of each filter. Get creative and choose any color you like!
- Wetting the filters: Dip a paintbrush in water and brush it along the colored edges of the filters. Move the brush towards the center of the filter, using small strokes. Make sure the entire filter gets wet.
- Drying and folding: Let the filters dry completely. Once dry, fold each stack in half and then fold it in half again.
- Cutting the filters: Cut strips into the stack of filters. Then, create a zigzag shape across the top. Don’t forget to make a small snip at the tip too.
- Opening and adding a straw: Carefully open the filters. Take a straw and insert it through the center hole of the stack.
- Completing the flowers: It’s time to finish your coffee filter flower craft. Remove the top filter from the stack and bunch it around the top of the straw. Secure it with a drop of glue. Repeat this step with each filter, layering them on top of each other and gluing them in place to create a beautiful flower.
- With these coffee filter flowers, you can create a single bloom or a whole bouquet. They make a stunning decoration for your home or a heartfelt homemade gift. Try it out and enjoy the beauty of these unique crafts!
#12 Real flower suncatcher
Supplies:
- Paper plates
- Sticky-backed plastic or contact paper
- Beautiful flowers
Instructions:
- Make flower picking a fun activity for toddlers and boost their fine motor skills!
- Start by cutting out the center of a paper plate and giving the child crayons to decorate the edges. Show them how it’s done and let them unleash their creativity.
- While they color, cut a piece of sticky-backed plastic slightly bigger than the hole and stick it to the back of the plate. Then, show the child how to stick their picked flowers onto the plastic. Once they’ve got the hang of it, let them do it on their own.
- To secure the flowers, add another layer of plastic on top. Hang the finished flower suncatcher in the window and watch it light up with sunlight.
#13 Pom Pom Flower Magnet
Supplies:
- Pom Poms
- Cardboard (preferably from a cereal box or snack box)
- White Glue
- Popsicle Sticks
- Green Paint
- Adhesive Magnets
- Scissors
- Pencil
Instructions:
- Obtain a piece of cardboard – a cereal box or snack box works well.
- Use the flower template as a guide and trace around it.
- Cut out the flower shape, including the smaller inside circle. You can create a cut mark inside the circle by gently bending the cardboard.
- Begin gluing one color of pom pom around the center circle. We recommend using orange.
- Choose another color for the petals and use various shades of that color. Continue gluing the pom poms until the entire cardboard is filled.
- Paint a popsicle stick green and attach 2 green pom poms to serve as leaves.
- Attach the popsicle stick to the back of the flower using glue.
- If desired, glue or tape a photo onto the back of the flower.
- For a magnetic option, use adhesive magnets on the back of the flower.
#14 Parts of a Flower Craft
Materials:
- Jumbo craft stick
- Green paint
- Paintbrush
- Blue, brown, and green construction paper
- Scissors
- Glue
- Cupcake liners
- Seeds
- Brown crinkle paper
- White construction paper
- Black marker
Instructions:
- Start by painting a craft stick green. For full coverage, you may need to apply two coats of paint. Alternatively, you can purchase pre-colored craft sticks to save time.
- While the paint dries, cut a rectangle out of brown construction paper and glue it onto a blue construction paper. This will serve as the soil. Then, attach the green craft stick to the blue paper to create the stem.
- Take four cupcake liners and fold them in fourths. Glue them in a circle shape on top of the craft stick, ensuring that the points are all touching. For added depth, use four cupcake liners, but you can also achieve the same effect with just one-liner folded inside out. Glue sunflower seeds in the center of the cupcake liners.
- Cut two leaves out of green construction paper and glue them next to the stem on the blue paper. If working with young children, you can have them draw the leaves on the paper and then cut them out.
- Glue brown crinkle paper or brown yarn onto the brown construction paper to create the flower’s roots.
- Cut two thin rectangles out of green construction paper and glue them above the brown paper to represent grass.
- Lastly, cut small rectangles out of white construction paper and write labels for the flower, stem, leaves, seeds, and roots on each piece. Glue them onto your paper creation.
#15 Kindness Flower Craft for Kids
Supplies:
- Small yellow paper plate
- Pink and green scrapbook paper
- Black stickers
- Black marker
- Scissors
- Glue
Instructions:
- To begin, cut out 11-12 petals from pink paper. For a consistent shape, use a petal template or freehand it if you prefer.
- Next, write kind words on each petal. In the center of the plate, use black stickers to spell out the powerful message “Kindness Matters.”
- Using glue, carefully attach each petal around the outer edge of the plate. Allow the glue to dry thoroughly.
- For added detail, cut out two leaves and a stem from green paper. Attach the stem to the back of the plate, and secure the leaves to the stem.
- Once everything is dry, you can proudly display your creation or give it to someone as a thoughtful gift to spread kindness.
#16 Flower Pens
Materials:
- White, yellow, and green duct tape
- Pens with caps
- Self-healing cutting mat
- Craft knife
- Scissors
Note: If you prefer not to buy green duct tape, you can use floral tape as an alternative for wrapping around the base.
Instructions:
- Cut a 1-inch piece of yellow duct tape.
- Use a craft knife to cut a square and two rectangular pieces from the yellow duct tape.
- Wrap the square piece around the top of the pen to cover it.
- Use the rectangular pieces to neatly wrap around the edges of the square tape for a secure and neat finish.
- Cut a 4-inch piece of green duct tape to cover the pen barrel, leaving about ½ inch exposed for the cap to fit comfortably.
- Flip the green duct tape over and place the pen on the sticky side at the bottom of the tap.
- Carefully roll the pen over the duct tape to create a stem.
- Cut a 3 ½ inch piece of white duct tape to make petals about 1 ½ inches long.
- Fold the tape over, leaving a sticky part exposed to secure the petals to the pen.
- Use a craft knife to slice the duct tape into three equal pieces.
- Cut out petal shapes using scissors and trim the sticky ends with a craft knife.
- Attach the petals to the pen.
- Cover the bottom of the petals by cutting a piece of green duct tape and wrapping it around the base for a neat and secure look.
- Repeat these steps to make more flower pens.
Conclusion
So, what are you waiting for? Challenge your little one to create a craft or two with these amazing flower methods and make memorabilia of the season. They can easily craft some big and beautiful blooms, mingle glitter and strawberry fields together, or simply go wild with colors.
Don’t forget to get involved yourself and share in the creative spirit of fun! Let your inner artist paint palettes of joy every time you break out those craft materials. Who knows, perhaps these activities will spark new creative hobbies for everyone.
Summer is ripe with endless possibilities for exciting crafts, so don’t waste any more time admiring our incredible inspiration – get started on creating something special for your home today!
Thanks for reading our article Flower Crafts for Kids. If you want to know more information, visit our website here.
Read more: