Learn how to make a toy kitchen with this step-by-step guide. Get all the materials and instructions you need for easy assembly in no time!
How to Make a Toy Kitchen
Are you looking for an exciting project that will keep your little one entertained and engaged? Building a toy kitchen from scratch is the perfect way to let your child’s creativity shine!
With easy-to-follow instructions, it won’t take hours of hard work or expensive materials to create a personalized playspace that your child will love.
From gathering materials and constructing walls to installing shelves and cabinets, this guide has all the information you’ll need to build your imaginary world—just add imagination! Read on to discover how to make a toy kitchen in no time.
What is Toy Kitchen for Kids
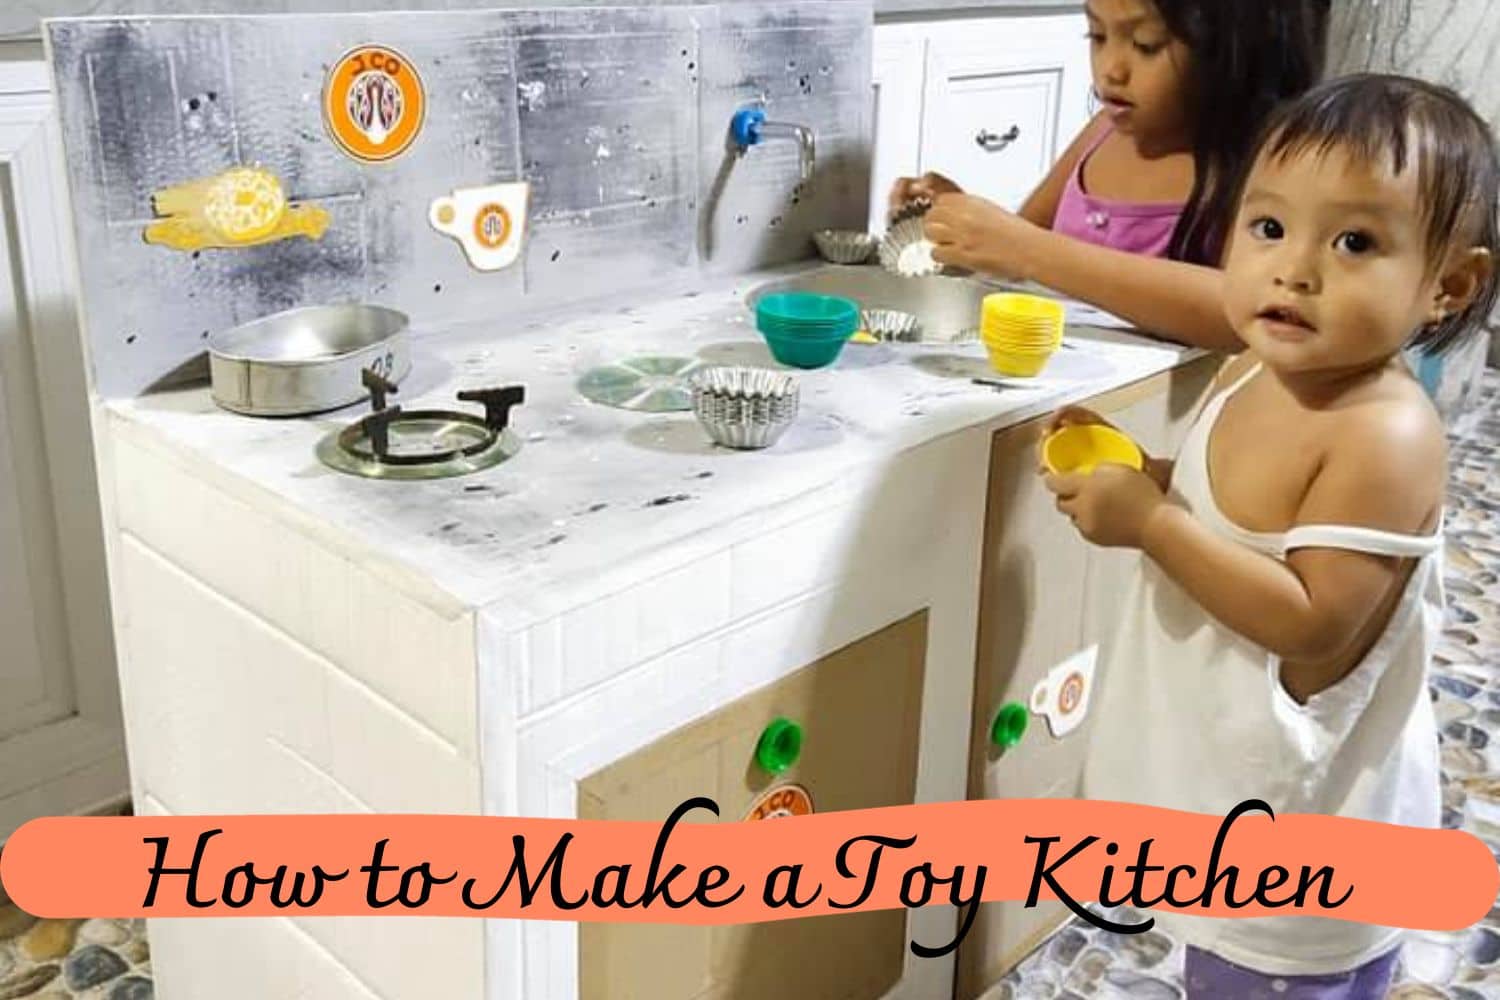
A toy kitchen is a miniature version of a real kitchen that is specifically designed for children to play with. It includes various features such as sinks, stoves, cabinets, and countertops that mimic a real kitchen.
Toy kitchens are not only fun for kids to play with but also help develop their creativity and imagination. They can pretend to cook meals, wash dishes, and even serve food, just like adults do in a real kitchen.
Additionally, toy kitchens can also teach kids about basic kitchen skills, such as organization and cleanliness. By playing with their toy kitchen, children can learn how to keep things tidy and put away items after use. They can also practice counting and measuring while playing with pretend food and utensils.
How to Make a Toy Kitchen
#1 DIY a Toy Kitchen for transforming your furniture:
Find Inspiration: Start by seeking inspiration for your project.
Look for Furniture: Visit your local thrift store to find a suitable piece that fits your space, even if it’s not visually pleasing.
Use Your Imagination: Be creative and envision how you can transform the furniture using paint.
Make Structural Alterations: Once you bring the piece home, make any necessary structural changes based on its unique needs.
Prepare the Furniture: Prepare your furniture for painting by sanding or applying a primer, depending on the material.
Paint: Finally, apply the final color to your furniture. Consider using outdoor deck paint for durability.
Add Accessories: Add important accessories such as faucets and stove burners. Use wood circles and chalk paint for the burners.
Install Trim: Use beaded trim to enhance the cabinets and add charm to the piece. Attach the trim using liquid nails.
Assemble Accessories: Start assembling the accessories you have collected. Install hinges to allow the oven door to open like an actual oven.
Clear Coat (Optional): If concerned about scratches, apply a clear coat to protect the paint. Give the entire piece multiple coats if desired, while protecting accessories with plastic.
Wrap the faucet in plastic while spraying on the clear coat for protection.
Backsplash:
- Choose a fun and inexpensive option for the backsplash.
- Marble contact paper is a cute and affordable choice.
- Cut linoleum tiles into 2″x 4″ rectangles for a subway tile effect.
- Use a paper cutter for fast and efficient tile cutting.
- If needed, rip the paper backing to complete the cut.
- Attach the sink with liquid nails for durability.
Add a Spice Rack:
- Paint the spice rack white for a cohesive look.
- Securely screw the spice rack onto the backsplash.
#2 DIY a Pack-n-Go Kids Play Stove with a Container
Find a container to use as the base for the Pack-n-Go Kids Play Stove. Measure the size of the cooktops using glass bowls as a guide.
Measure and cut out the vinyl for the “stove top” and the “hot coils” using the following measurements:
- Largest hot coil: 3.9″ x 3.9″
- Second hot coil: 2.9″ x 2.9″
- Third hot coil: 2.05″ x 2.05″
- Smallest hot coil: 1.38″ x 1.38″
- Cut out 2 black circles with a diameter of 5″ for the hot plates.
- Cut out 2 black circles with a diameter of 3.75″ for the hot plates.
- Cut out 2 complete orange circles for the “hot coils.”
- Cut out 4 black circles with a diameter of 2″ for the turn knobs.
- Cut out 4 white circles measuring 1.38″ x 1.38″ for the turn knobs.
- Freehand cut 4 black pieces measuring approximately 1/8″ x 1″ to create realistic knobs.
Adhere the vinyl pieces to the top of the container, using your visual judgment for placement.
Fill the Pack-n-Go Kids Play Stove with fun kitchen items.
Enjoy making your DIY Pack-n-Go Kids Play Stove in just around 10 minutes!
Conclusion
With some materials and a bit of creativity, you can make the perfect toy kitchen for your little one. All the measurements and instructions have been laid out for you in this article, so now it’s time to get crafting!
Gather all of your supplies, measure twice, cut once, and take your time as you construct your unique toy kitchen. Detail is key when designing a play set, so adding paint chips and scrapbook paper will complete the look.
When you finish building the toy kitchen imagine how proud your child will be when they see their very own work of art. In comparison to store-bought items that everyone else has it will always hold a special place in their hearts — so take lots of pictures!
On top of that not only have you saved money by making this yourself, but even better – you’ve crafted something truly unique. So put on some comfy clothes and dive into this fun project!
Thanks for reading our article How to Make a Toy Kitchen. If you want to know more information, visit our website here.
Read more:
20 Coolest DIY Play Kitchen Tutorials